How to Create A Grapevine Wreath Planter (with video)
The warm weather has been giving me spring fever so I decided to make a living Grapevine Wreath Planter using some spring flowers in cool color tones. It is a fun spring project that is simple and looks gorgeous! Let's get started!


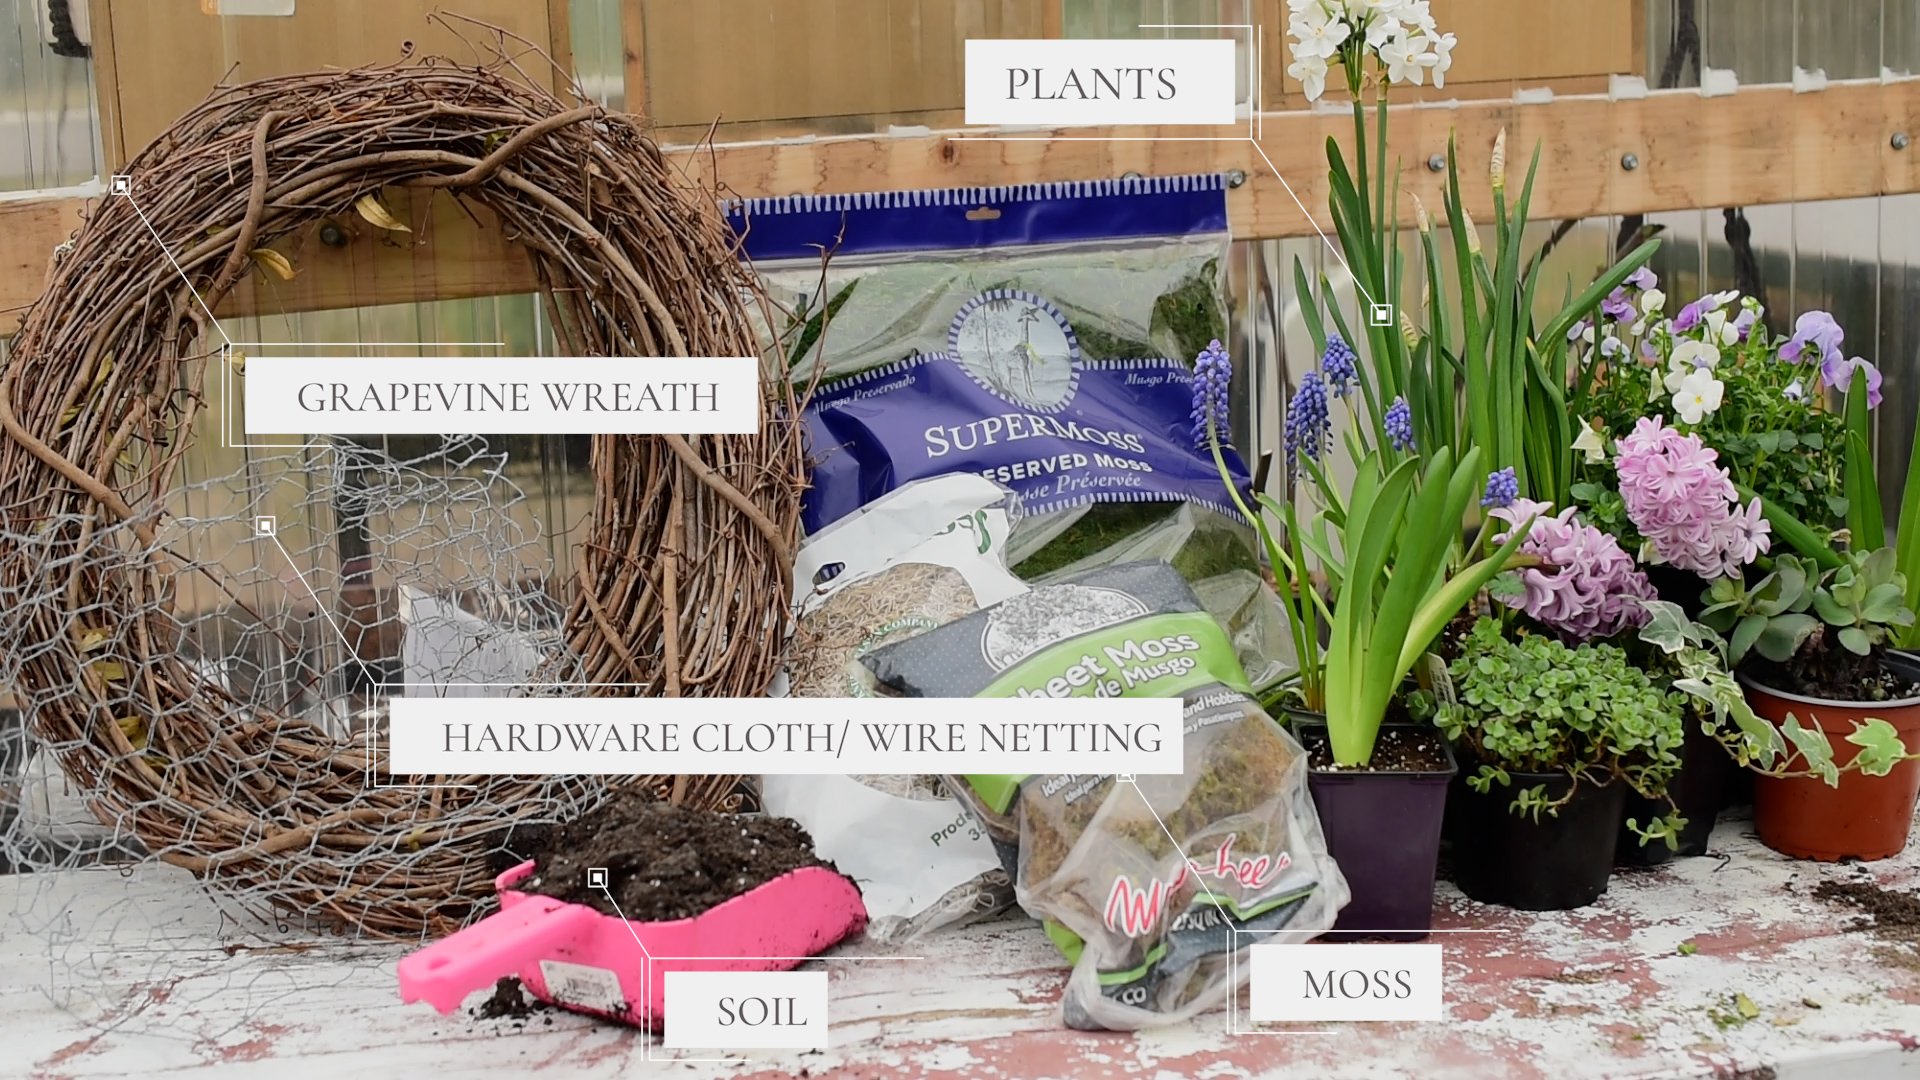
Supplies Needed:
Grapevine Wreath
Hardware Cloth/Poultry Netting
Plants
Soil
Sheet Moss (loose moss makes a great filler, I recommend both)
Twisty Ties (optional)
Step 1: Attach Wire to Grapevine Wreath
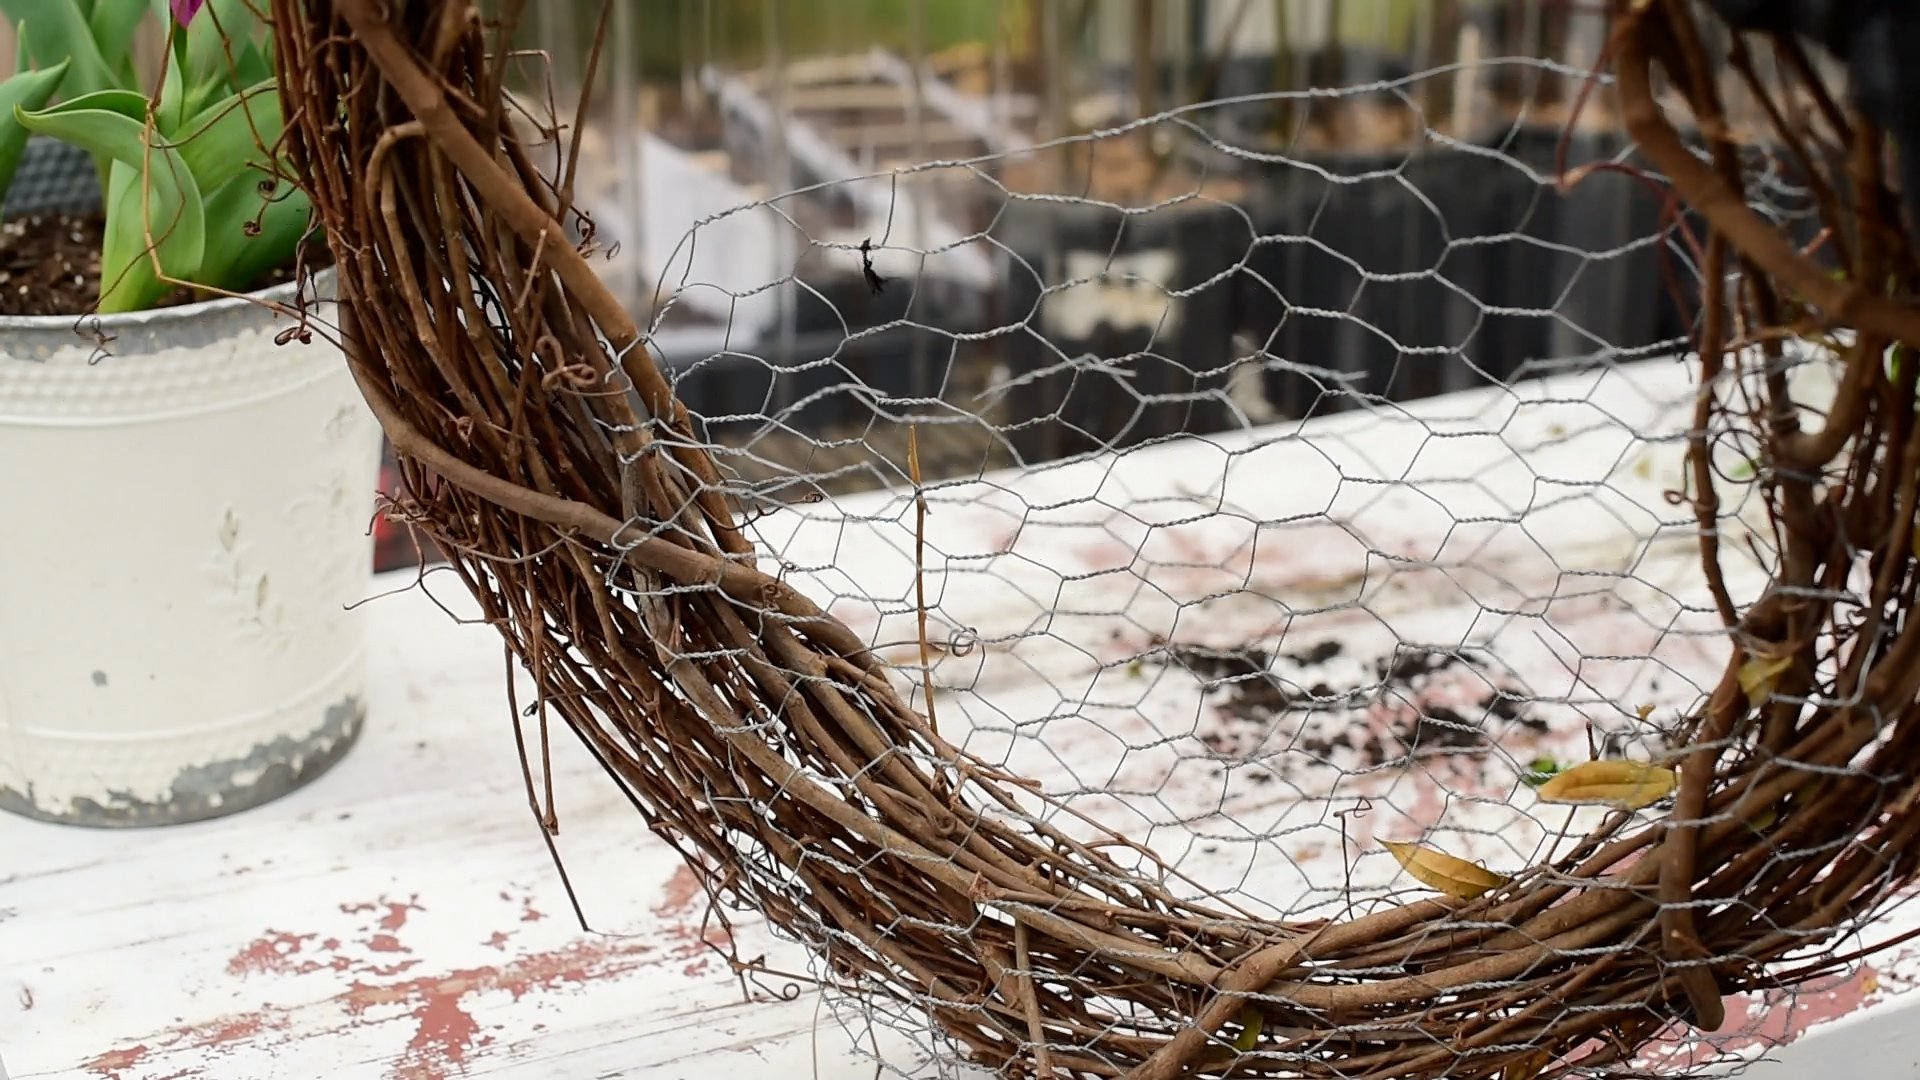
In order for our wreath to become a planter, we need to attach the wire to the Grapevine Wreath. You need to cut the wire the same width as your Wreath. The height will depend on the look you are going for. I wanted my Planter to have a deeper basket, so I made mine longer but it would look lovely no matter the size.
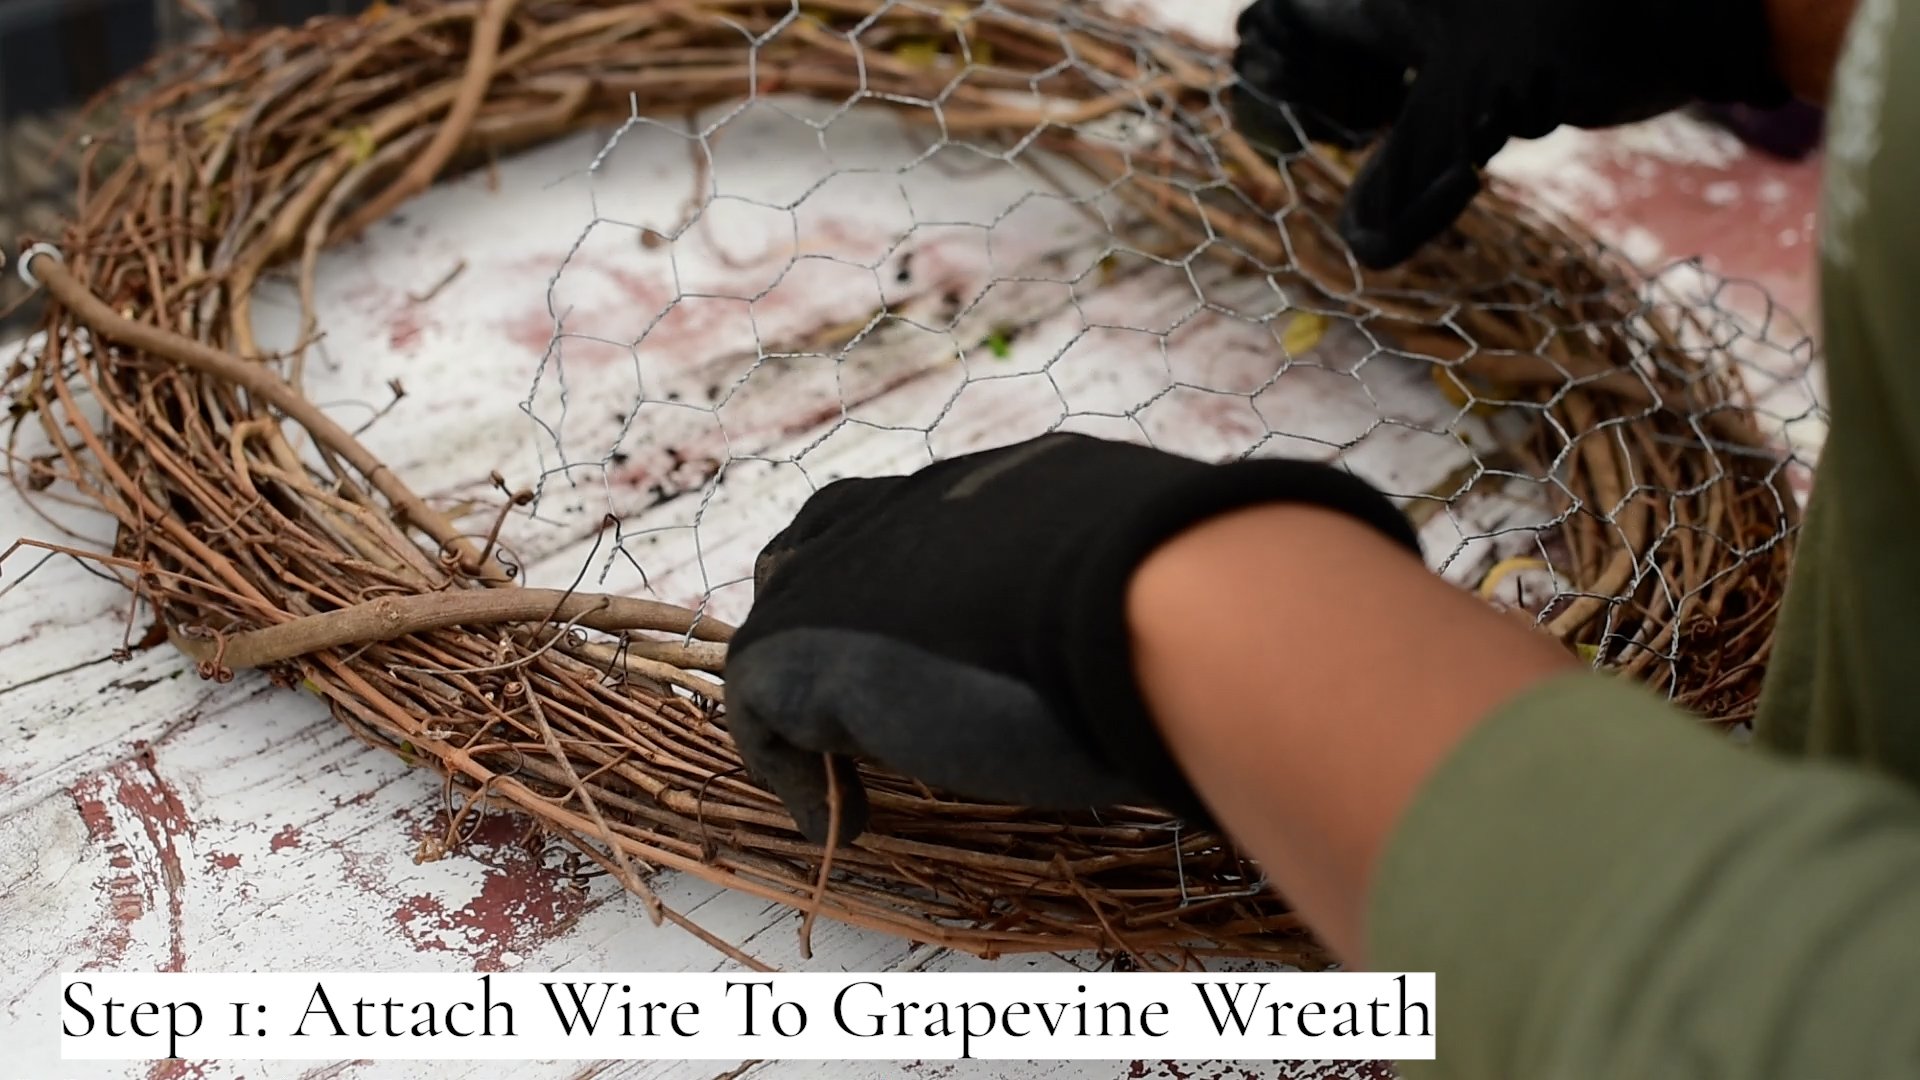
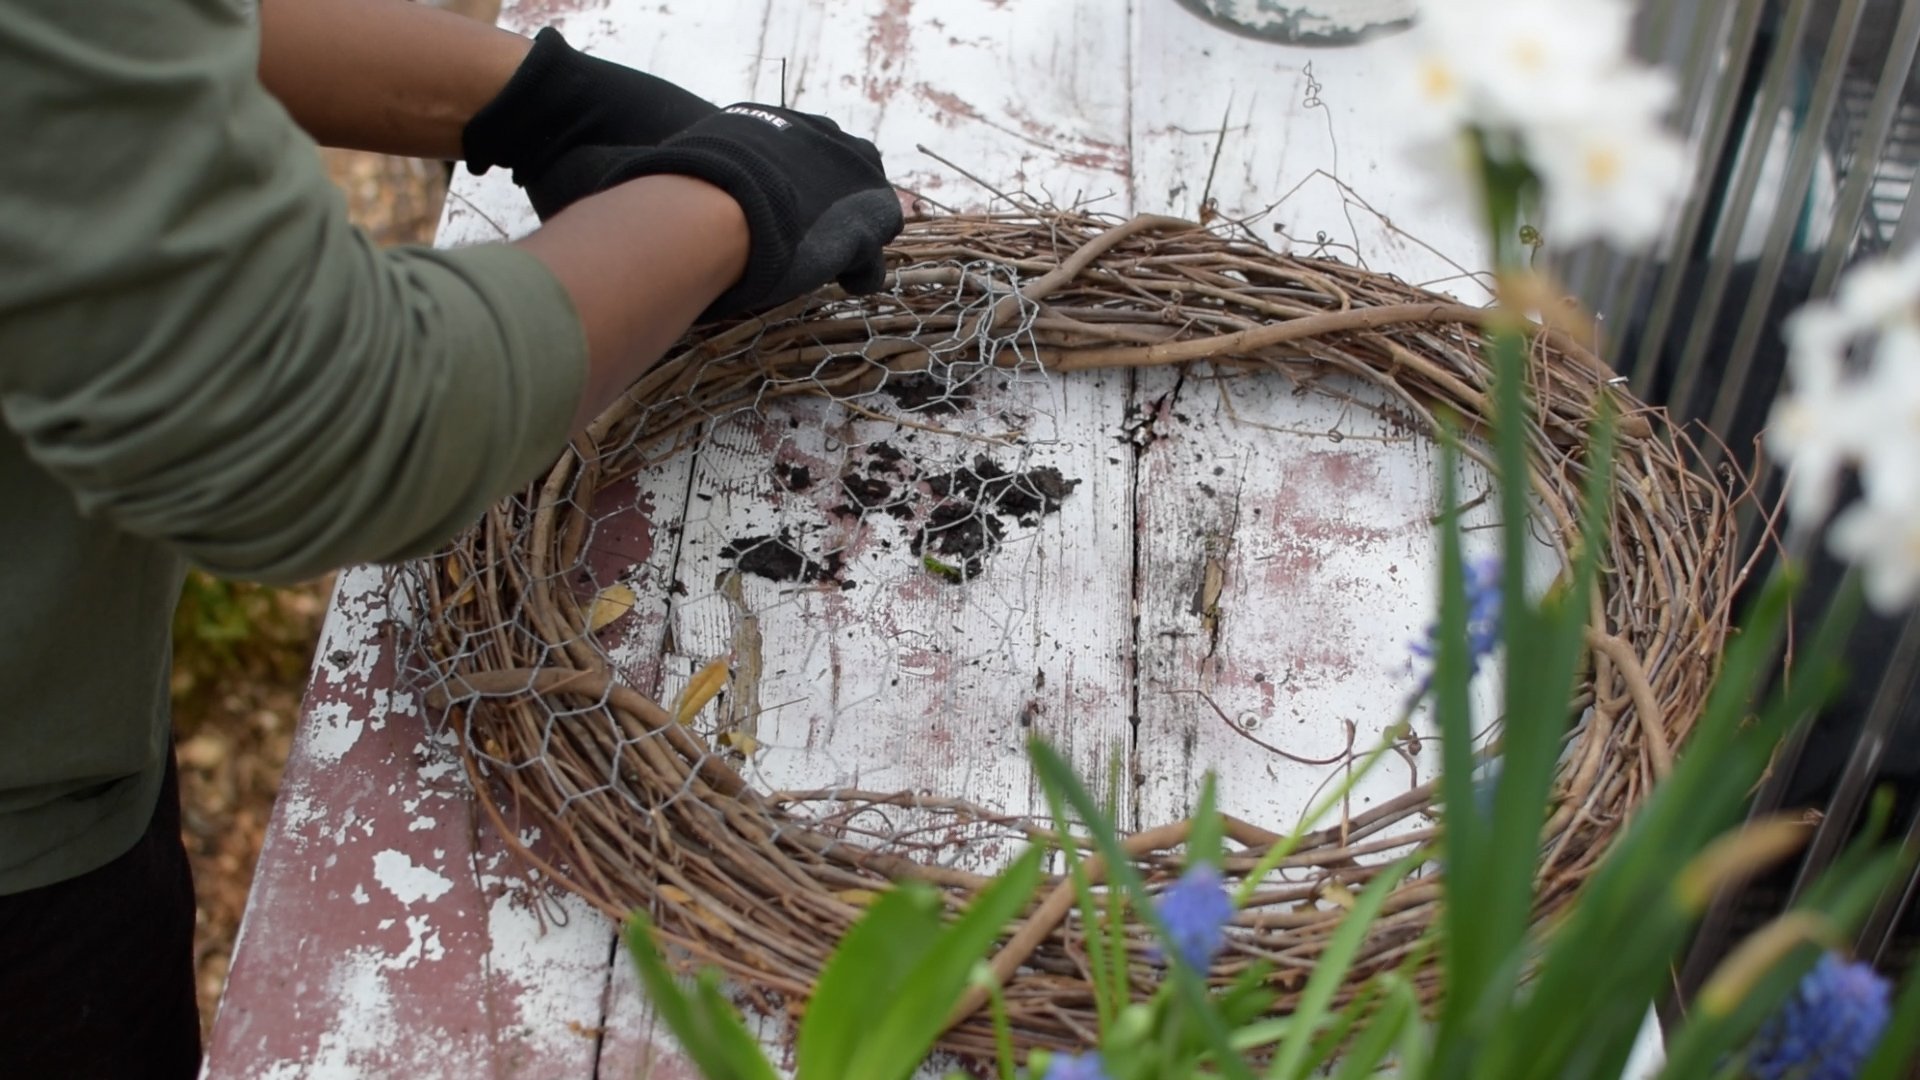
To secure the wire, you are going to stick the ends between the grapevines. For extra hold, you can use wire twisty ties which is what I end up doing. When attaching your wire you also want to make sure you are forming it into the shape of basket. Repeat the same thing for the other side.
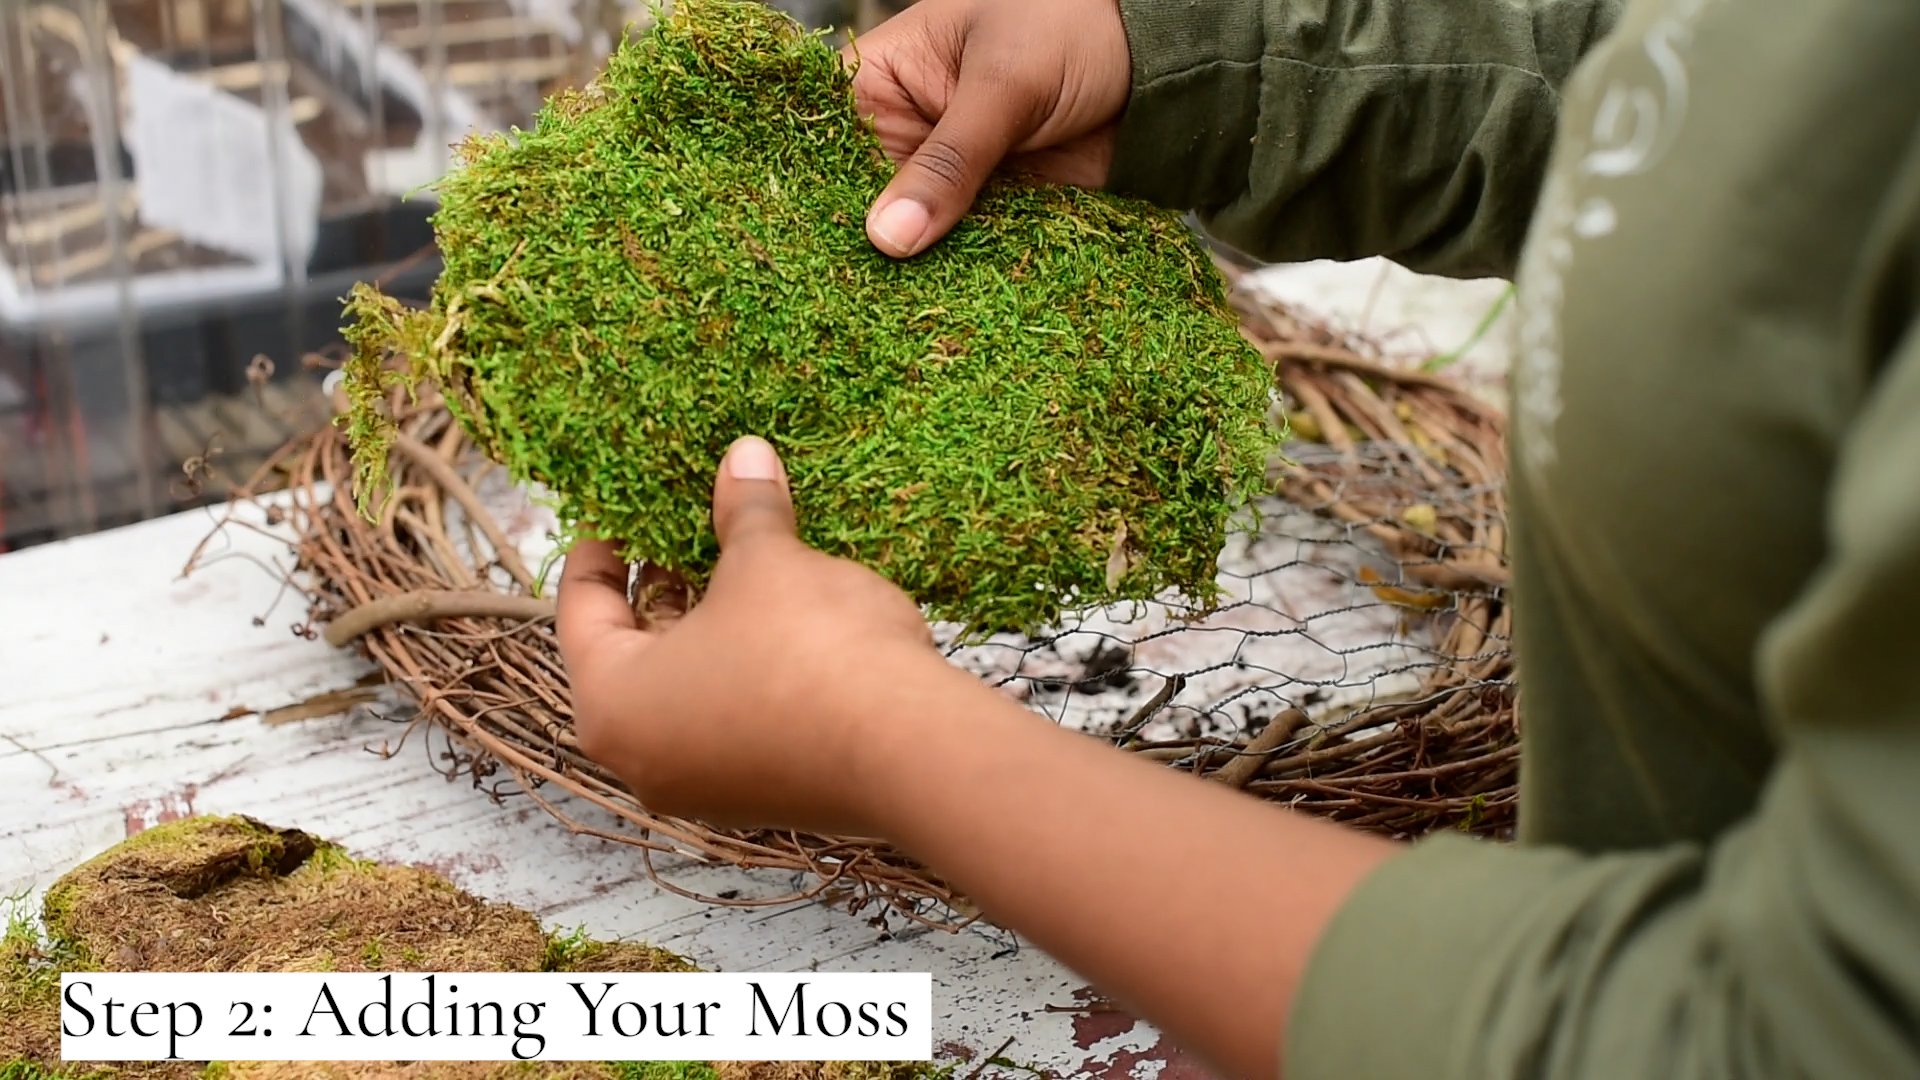
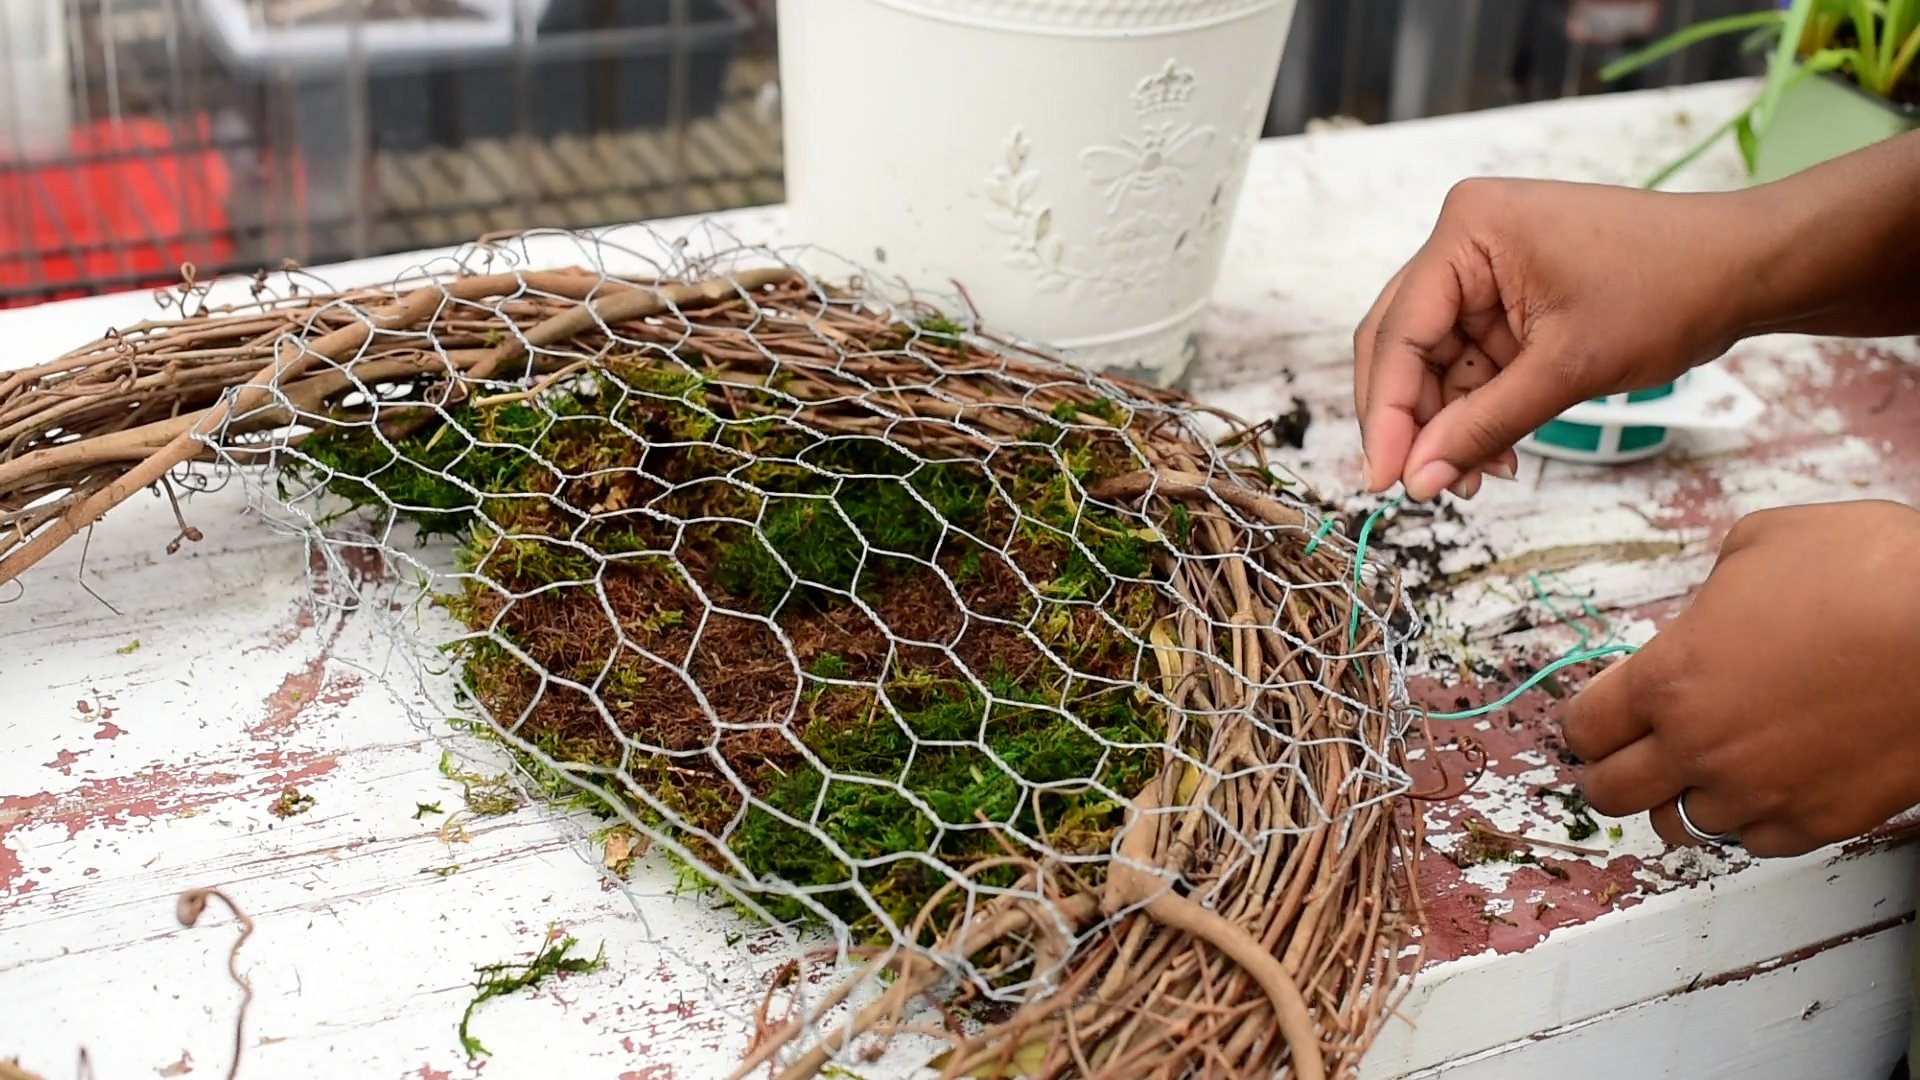
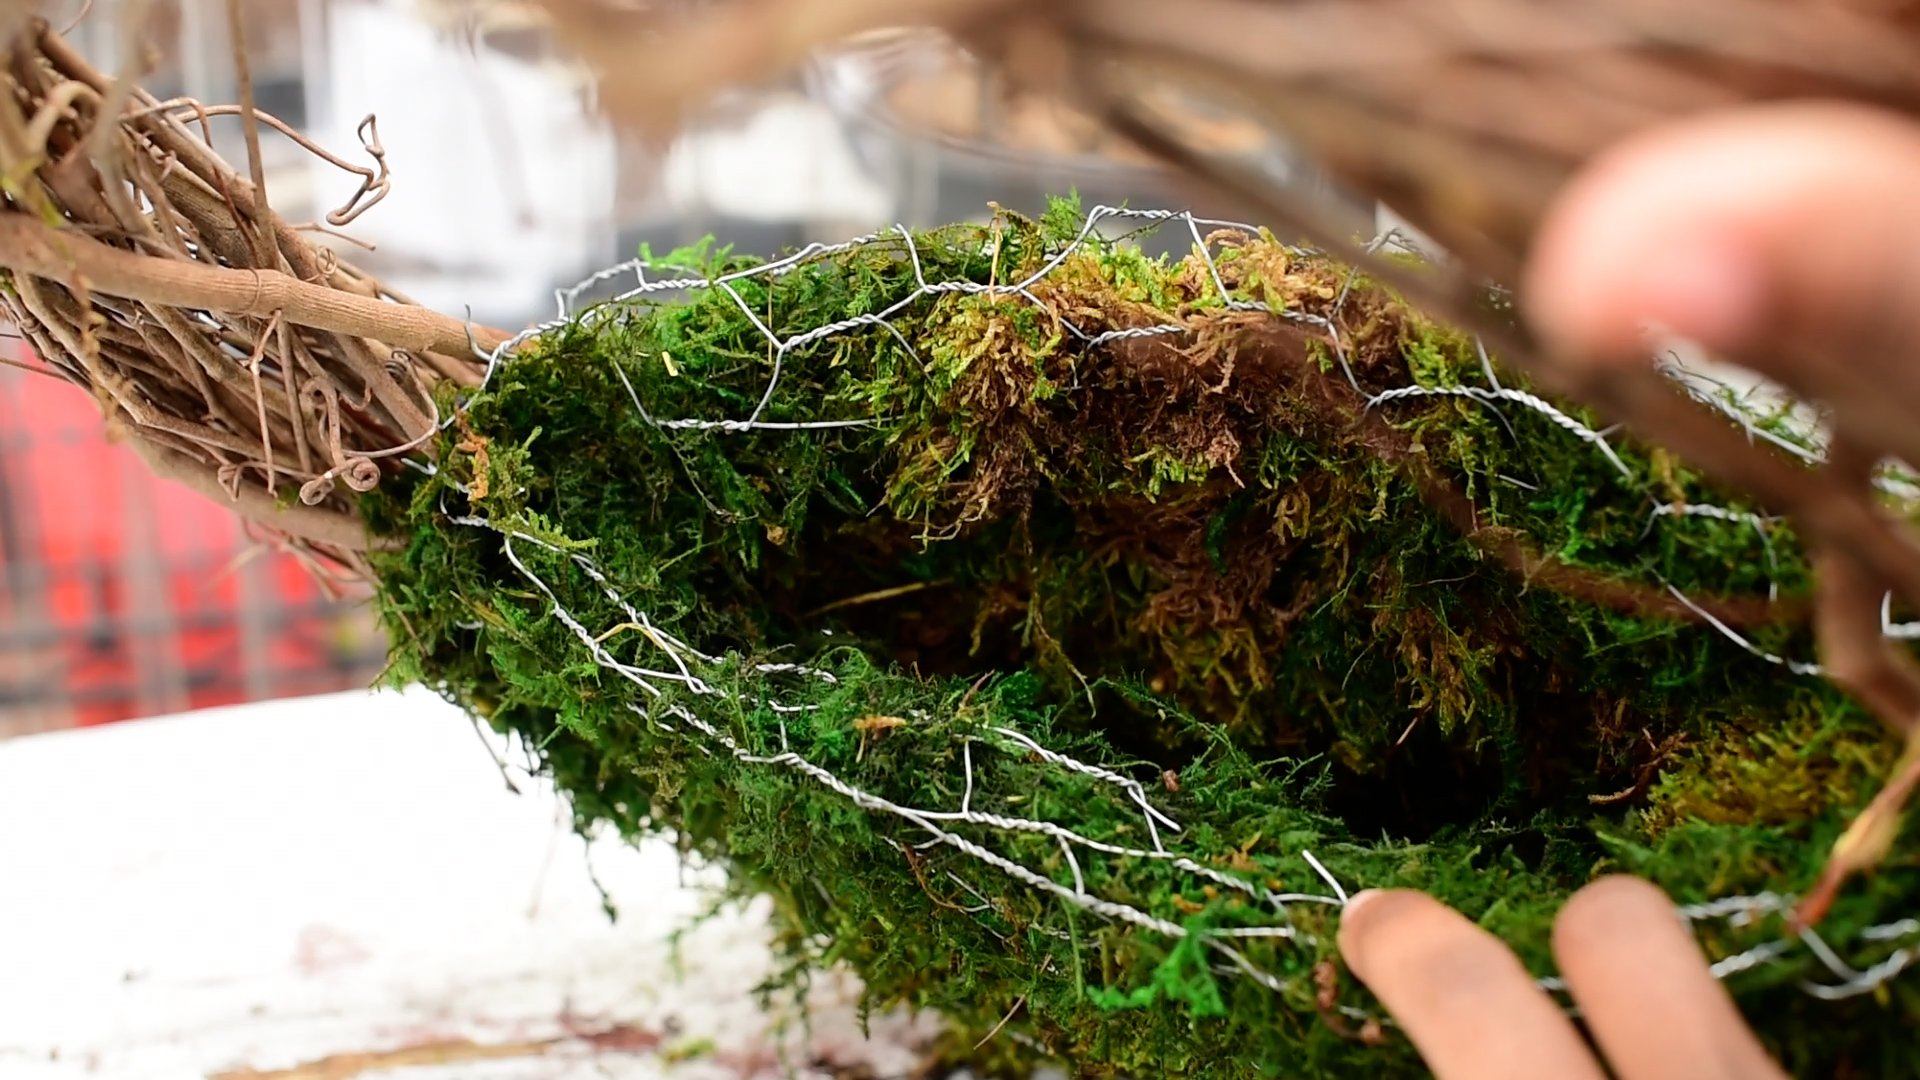
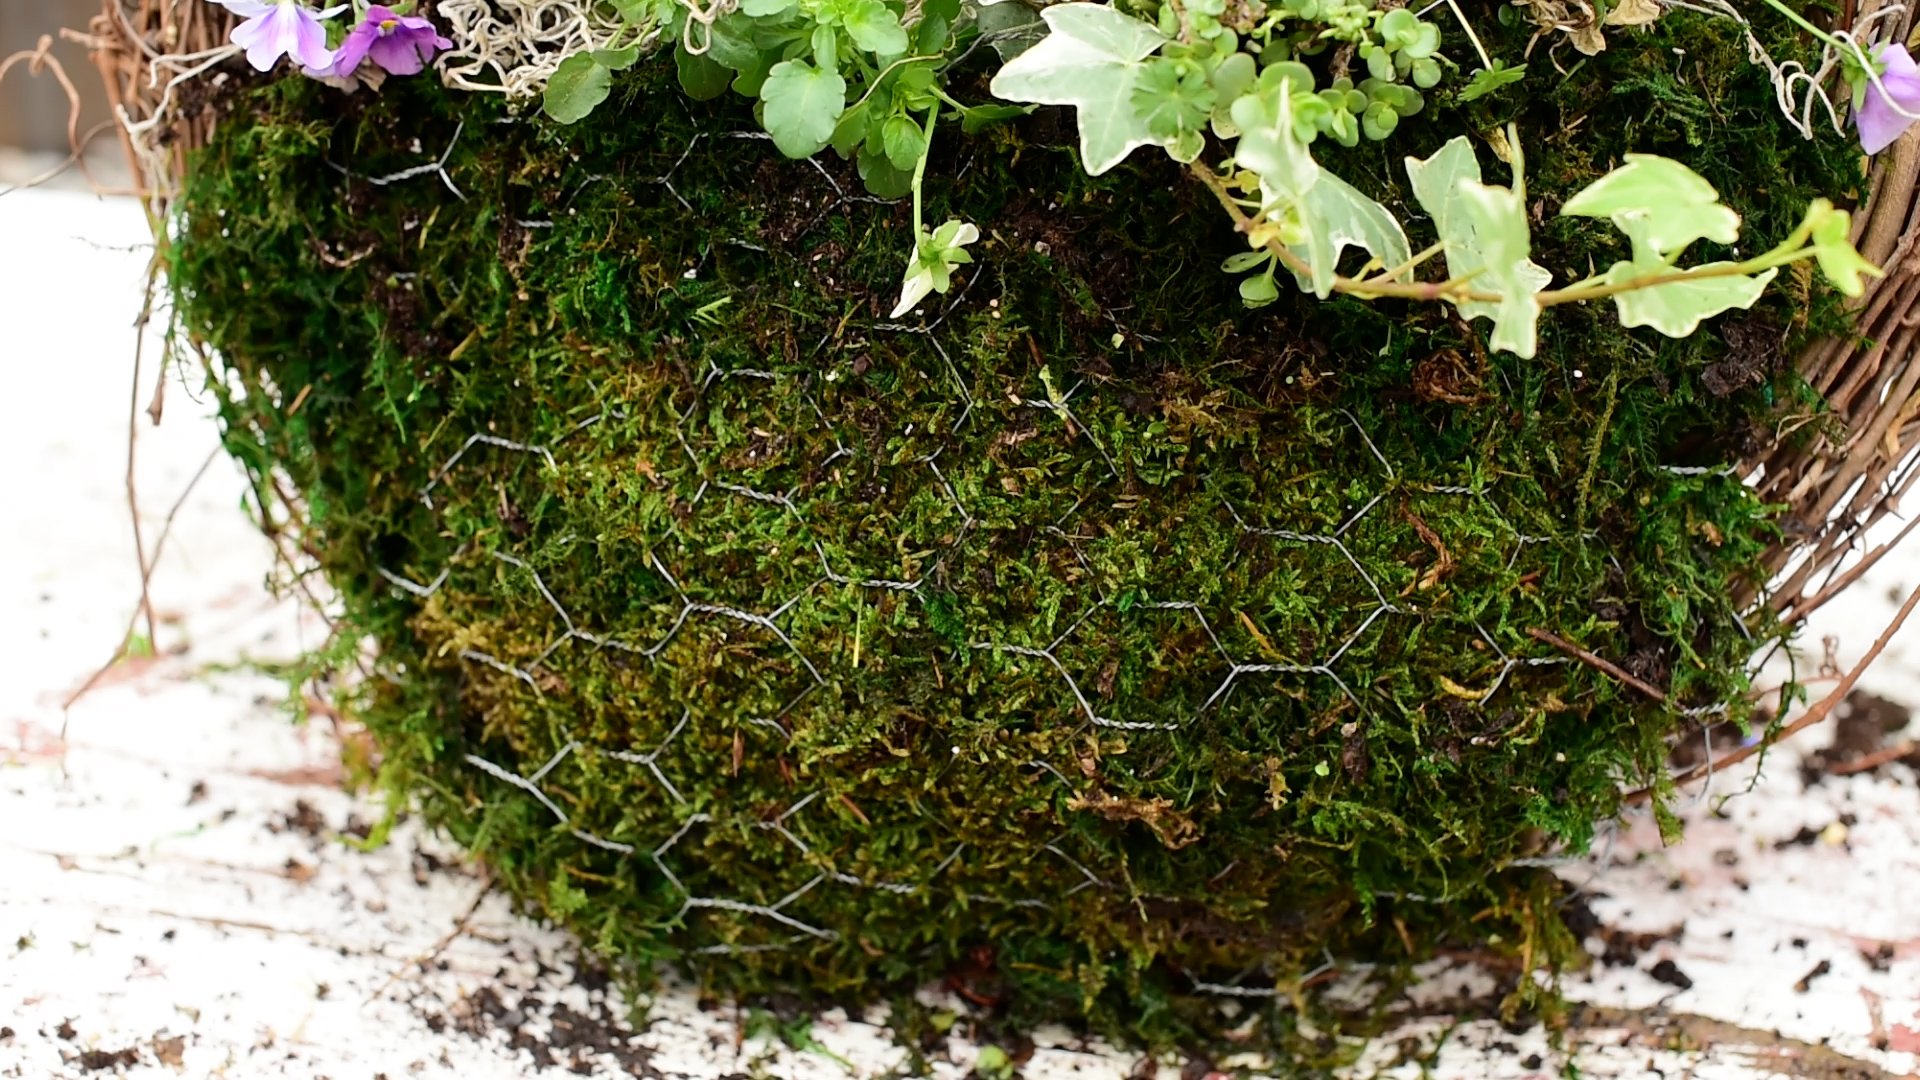
Step 2: Adding Moss
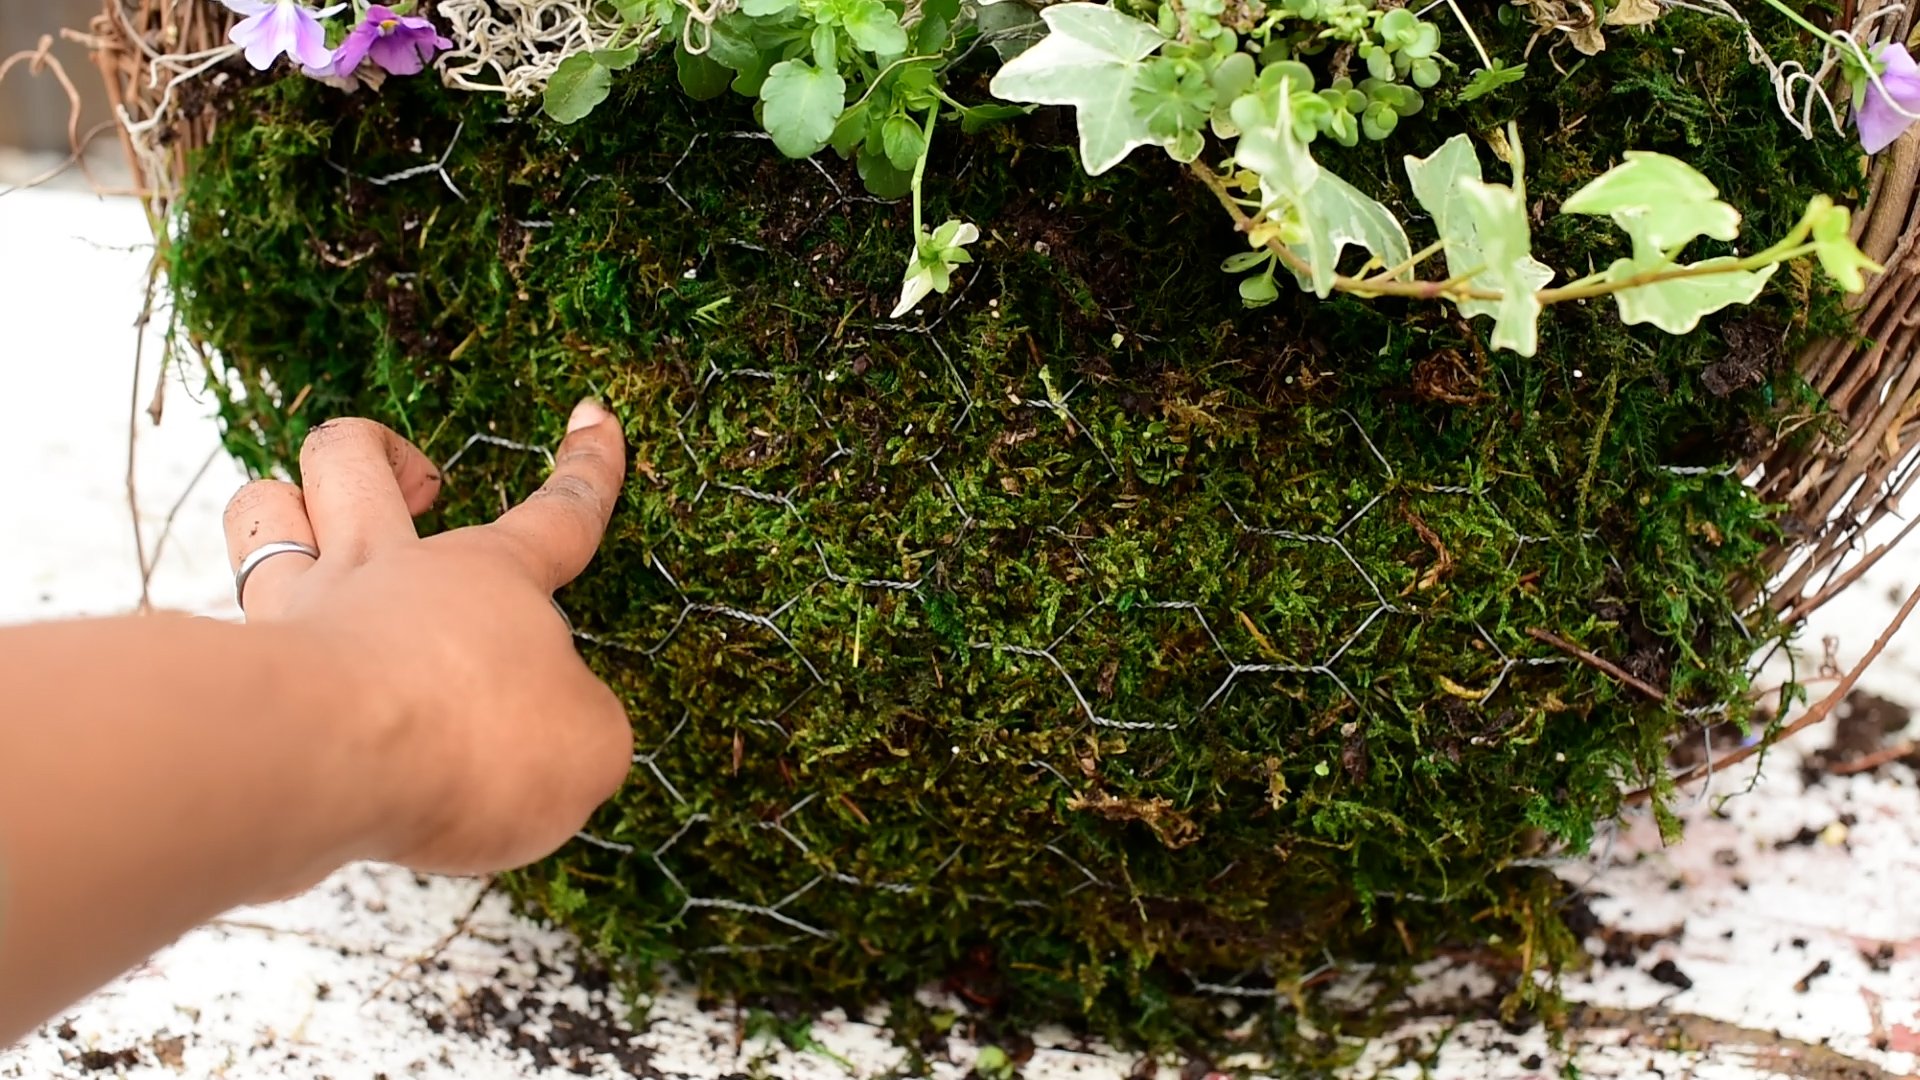
Before applying your Moss, I recommend soaking it in water for about 10-15 minutes. It needs to be moist prior to using it in order for the shape to hold when adding it your Wreath. I used a combination of Sheet Moss & loose Moss to create the natural look I was going for. I just love using Moss for projects. I feel like it gives everything a whimsical feel to it. Just gorgeous.
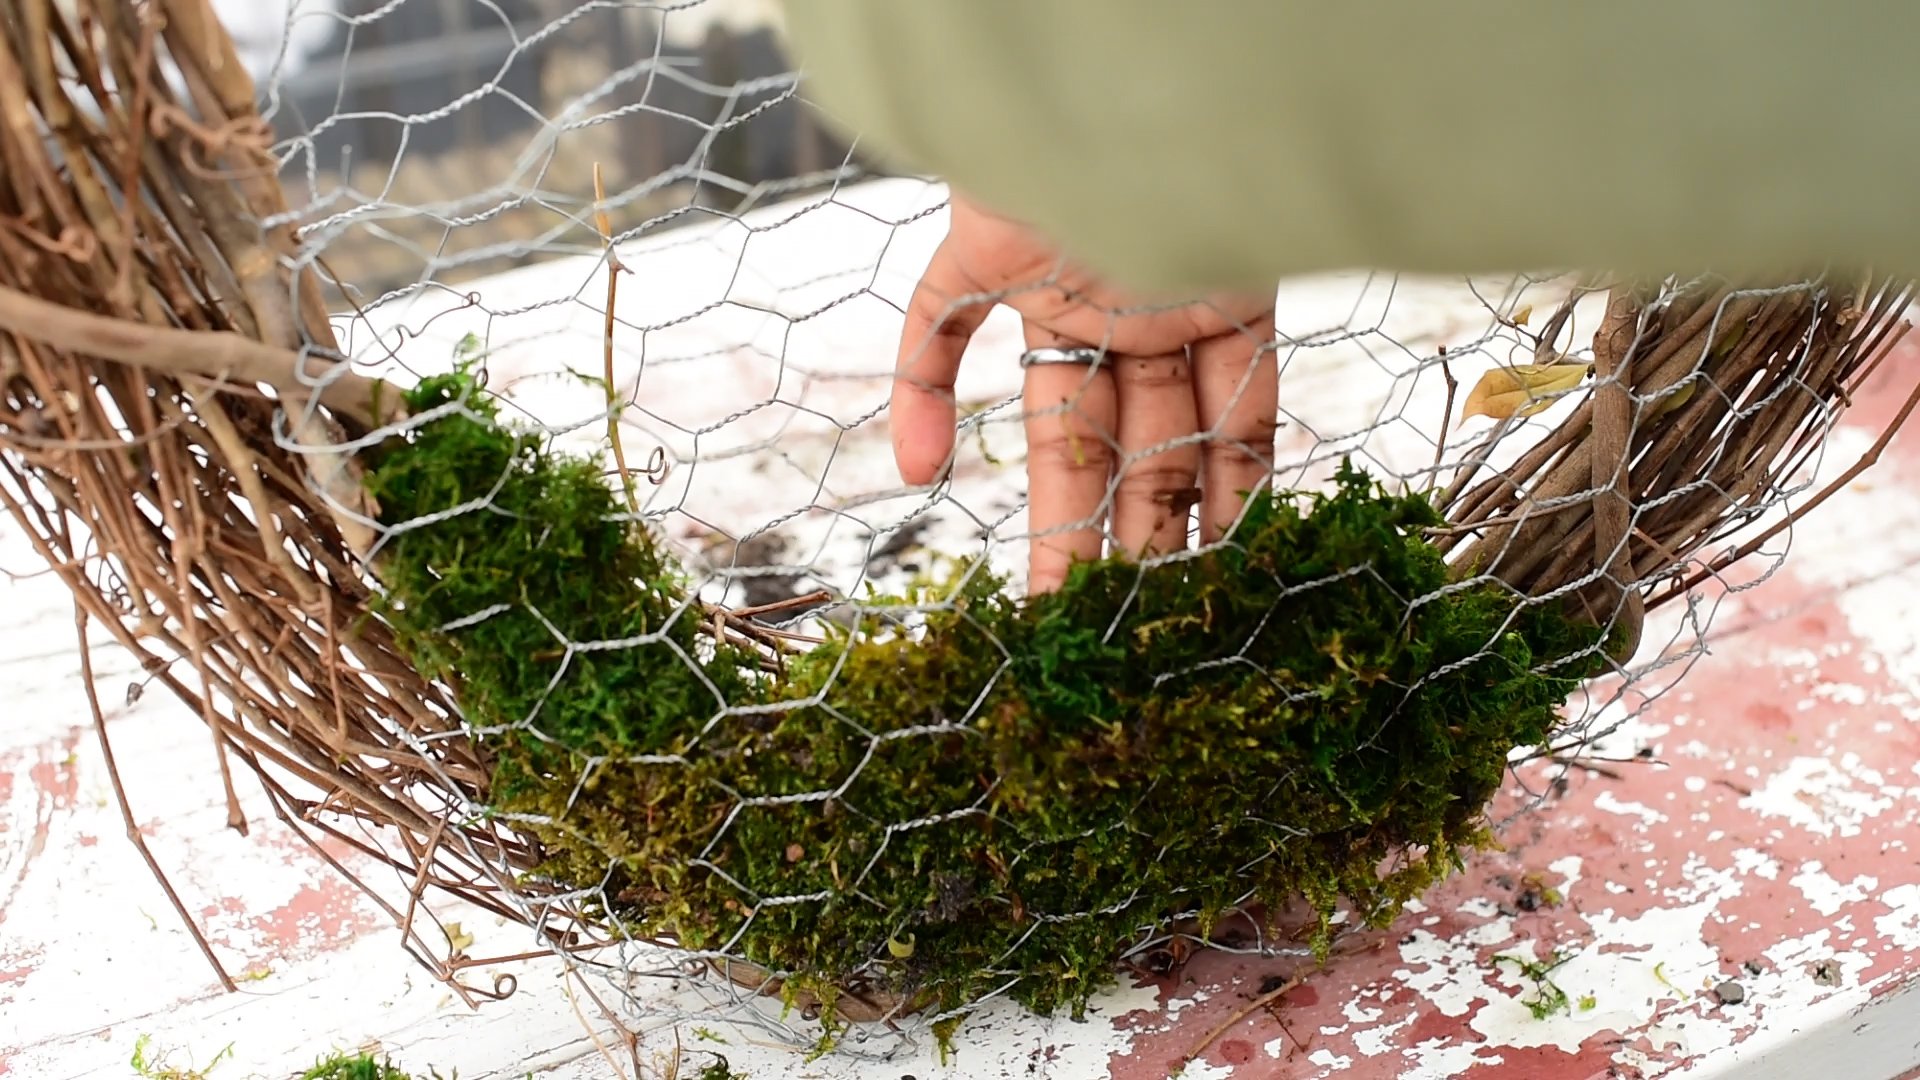
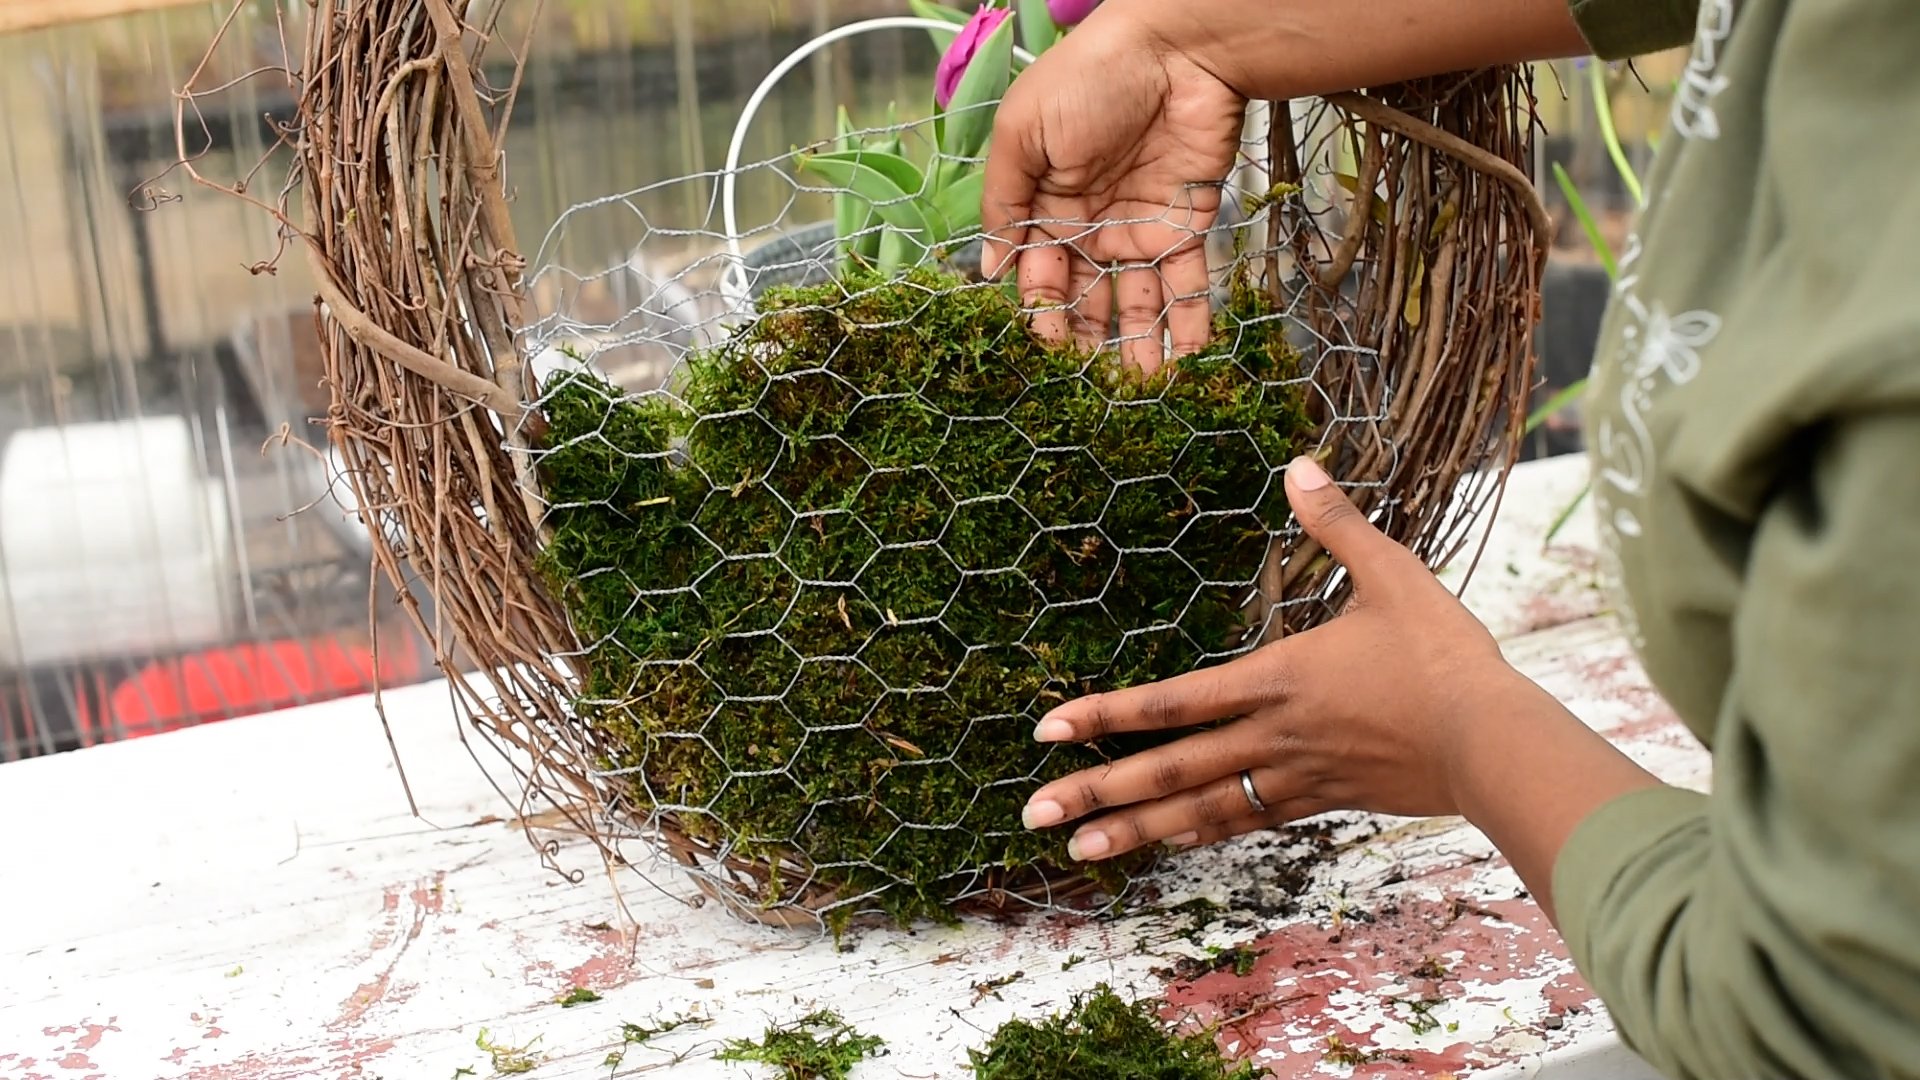
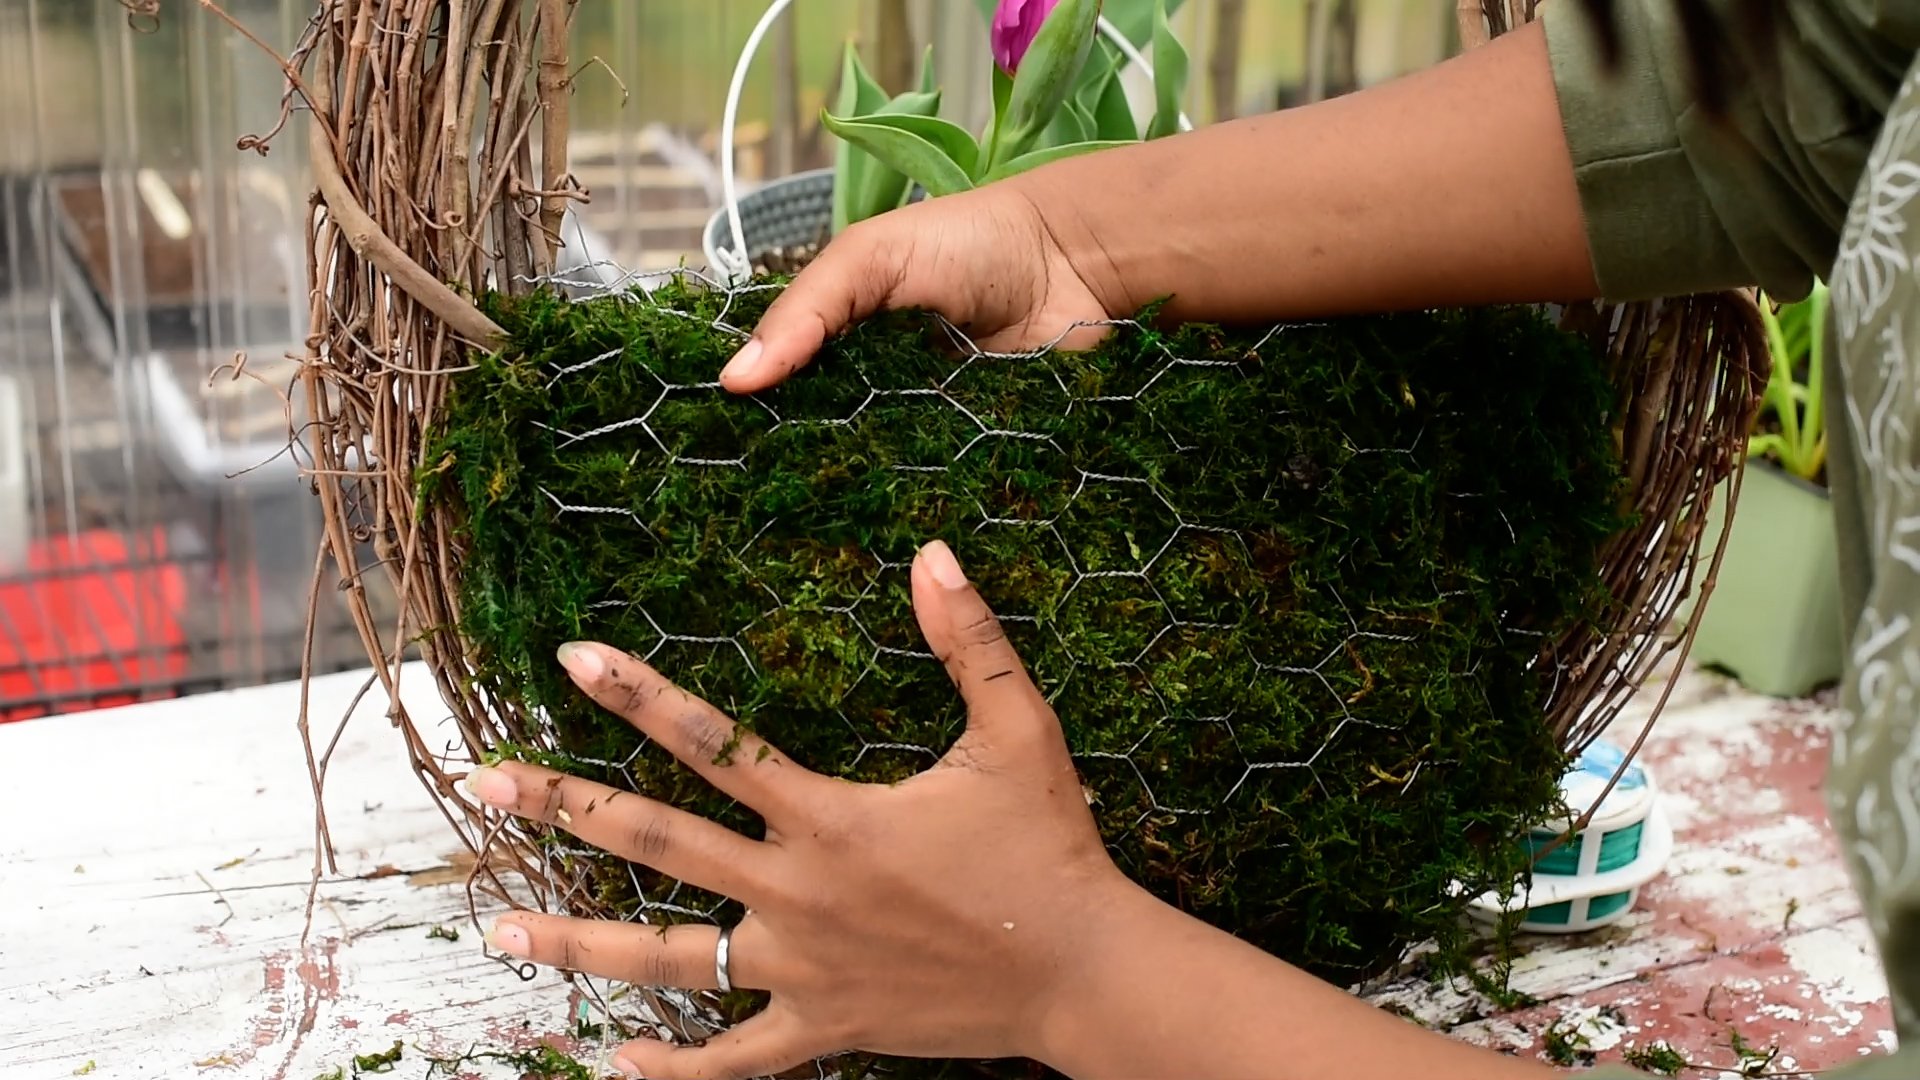
I am just taking the Moss and lining the wire basket with it until it is completely covered. & here is where I added the ties for extra security. You can add them along the sides of the front & back. Later I go back to cover the front ties so you don't see them. I left the back exposed since those aren't visible. Once my moss is in, I fold the top of the wire netting to secure the Moss in place.
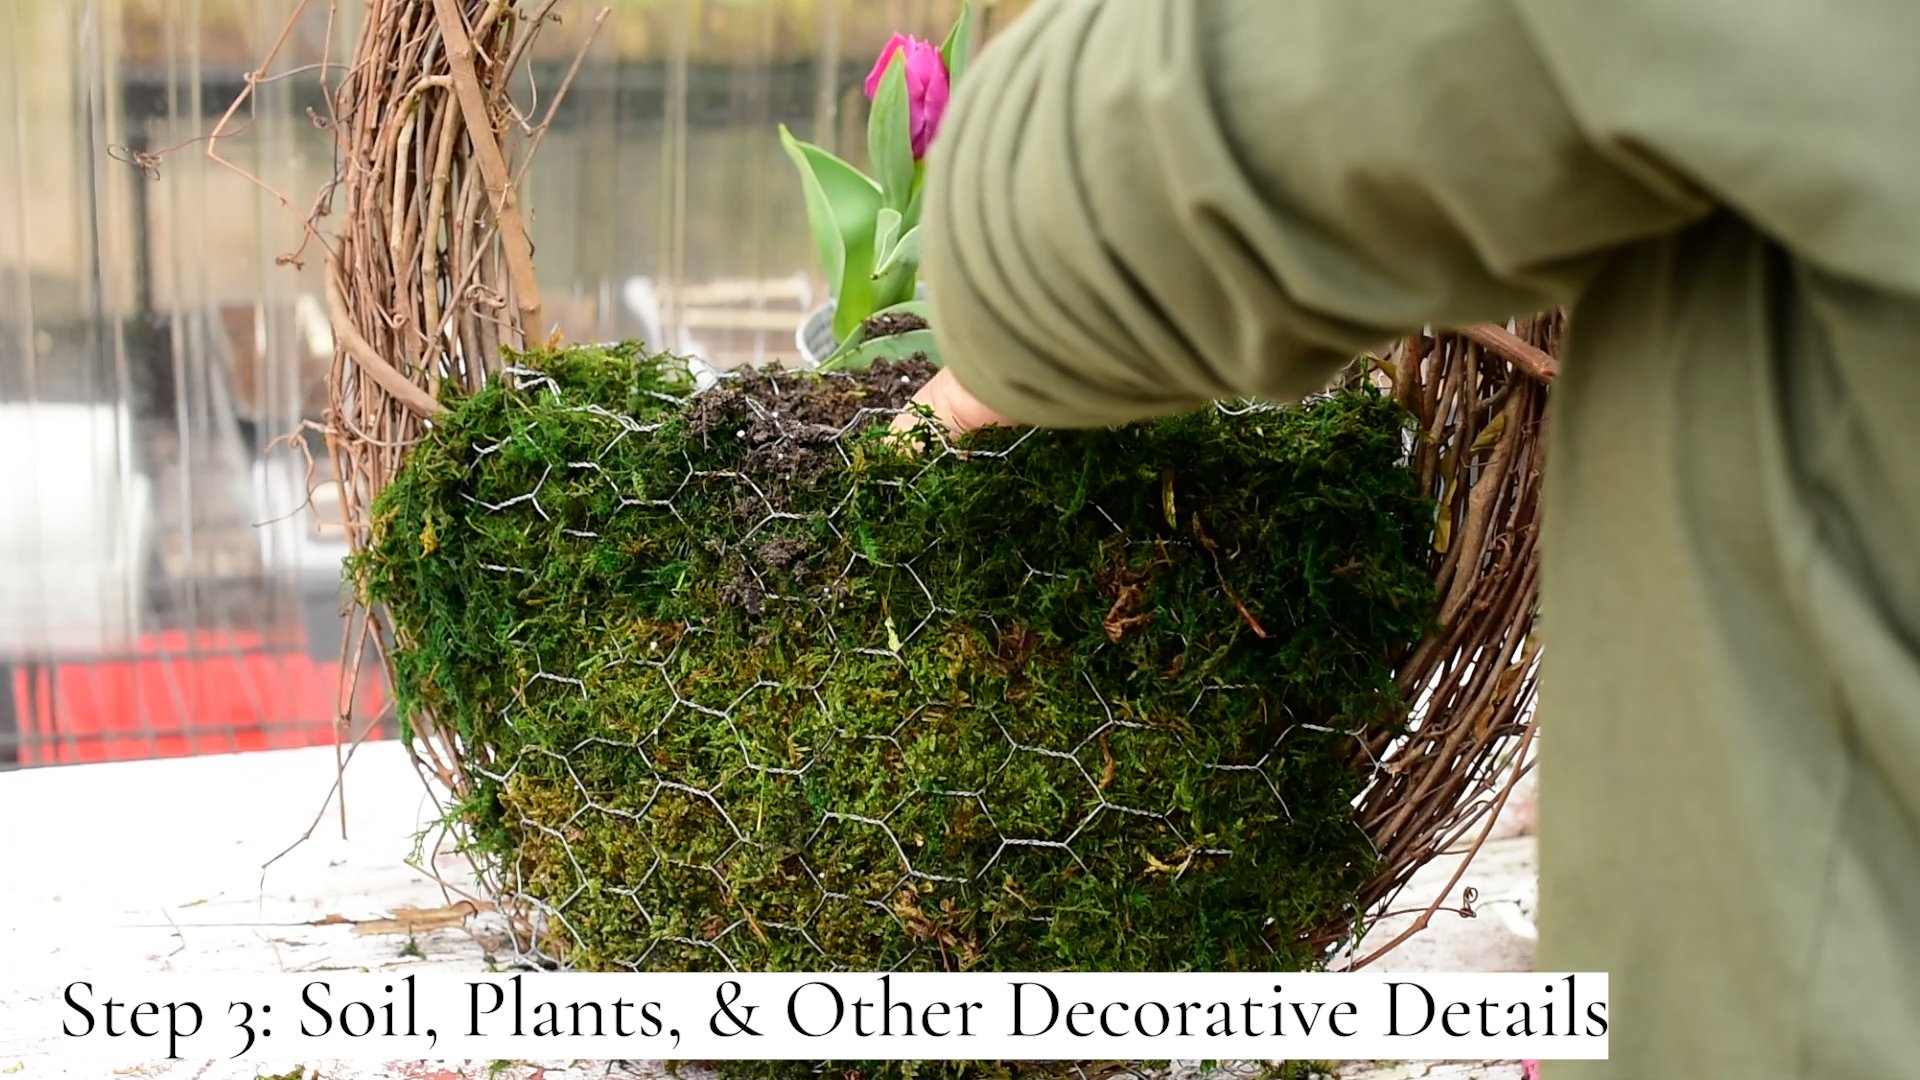
Step 3: Add Soil, Plants, and Other Decorative Details
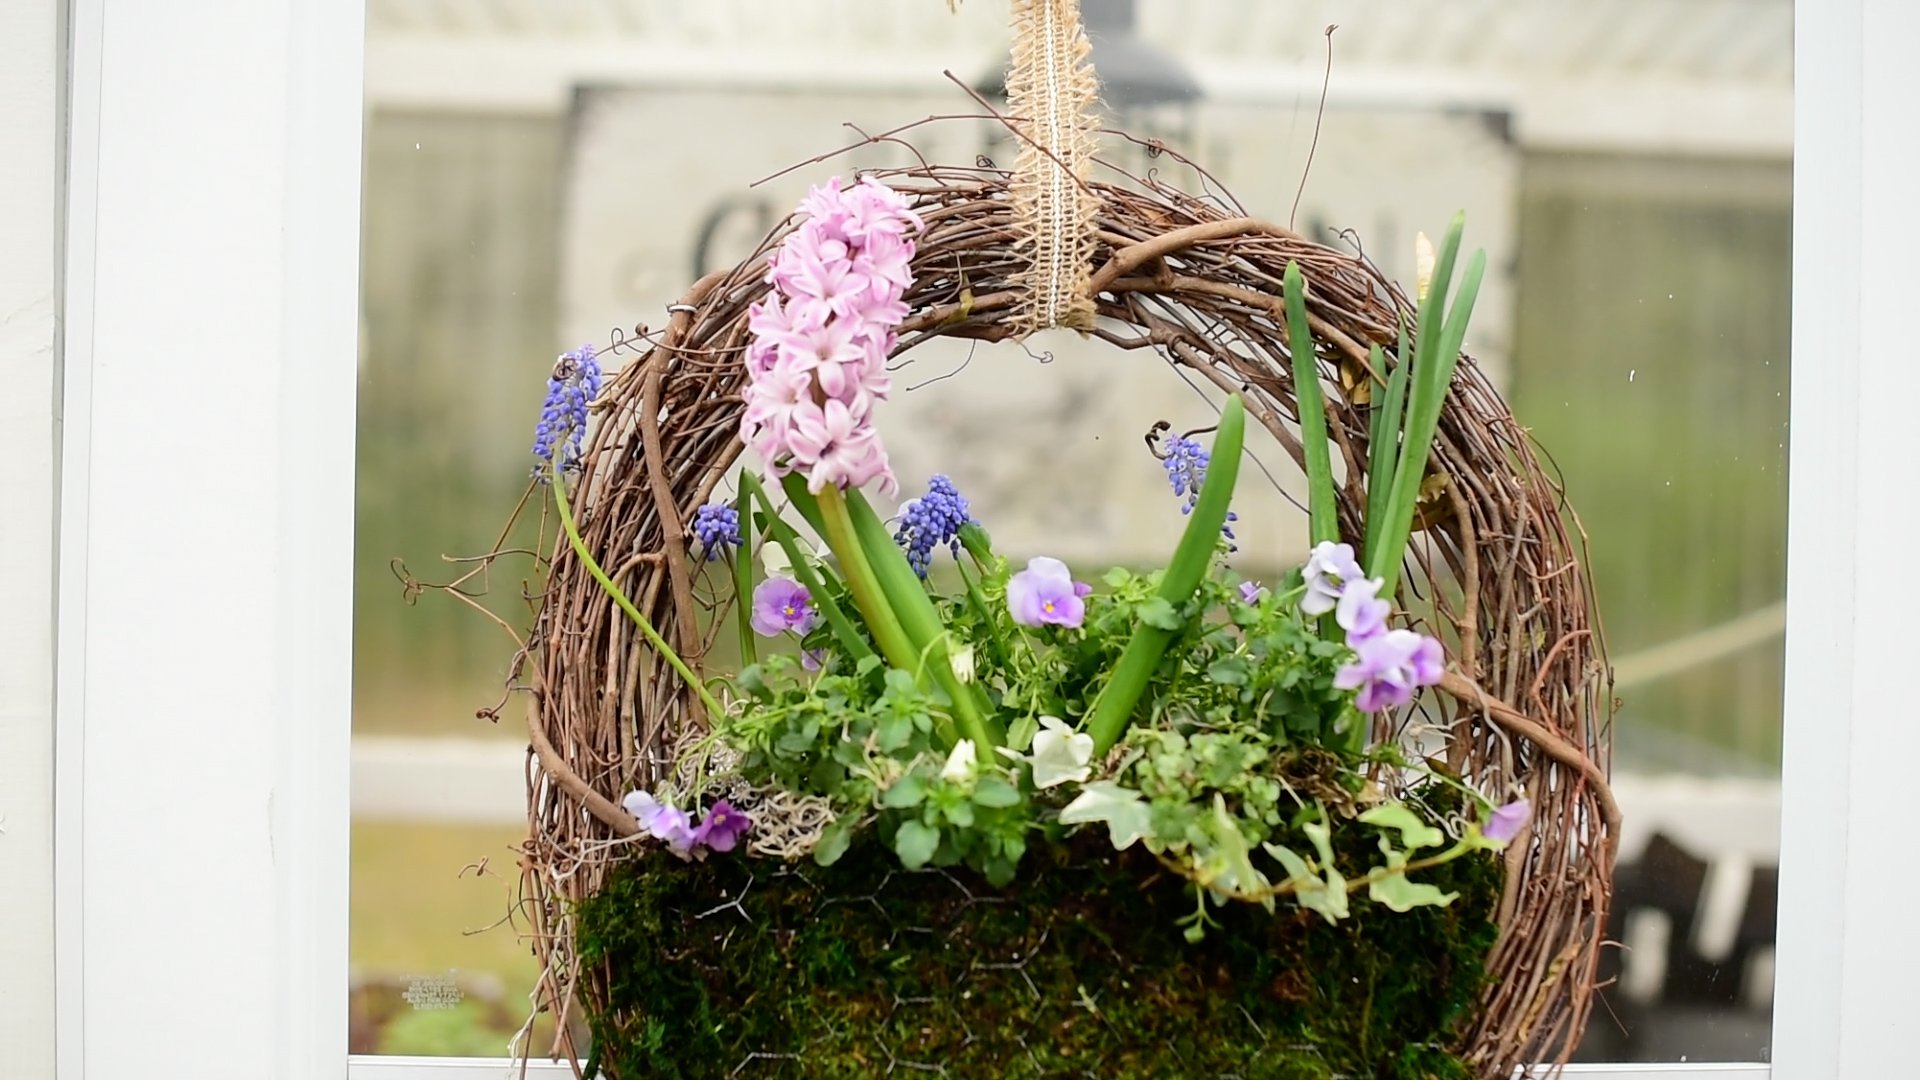
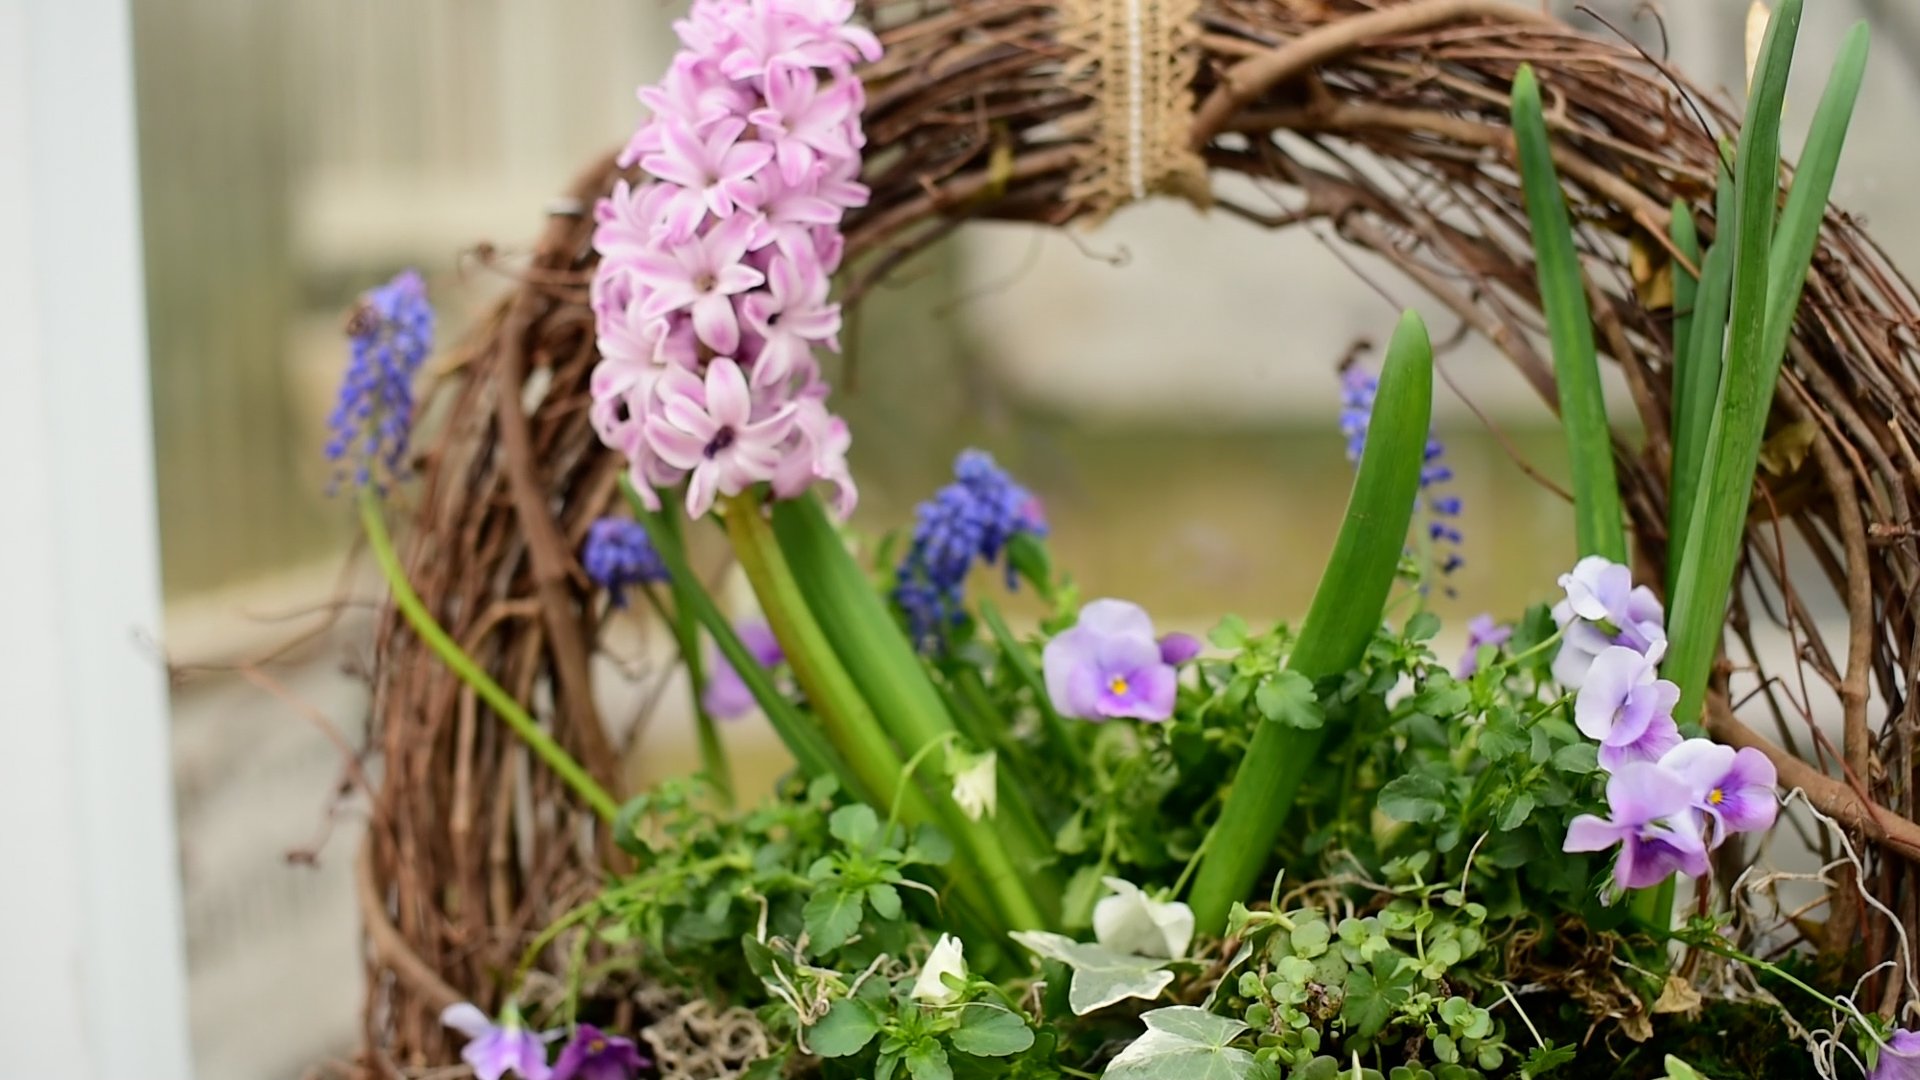
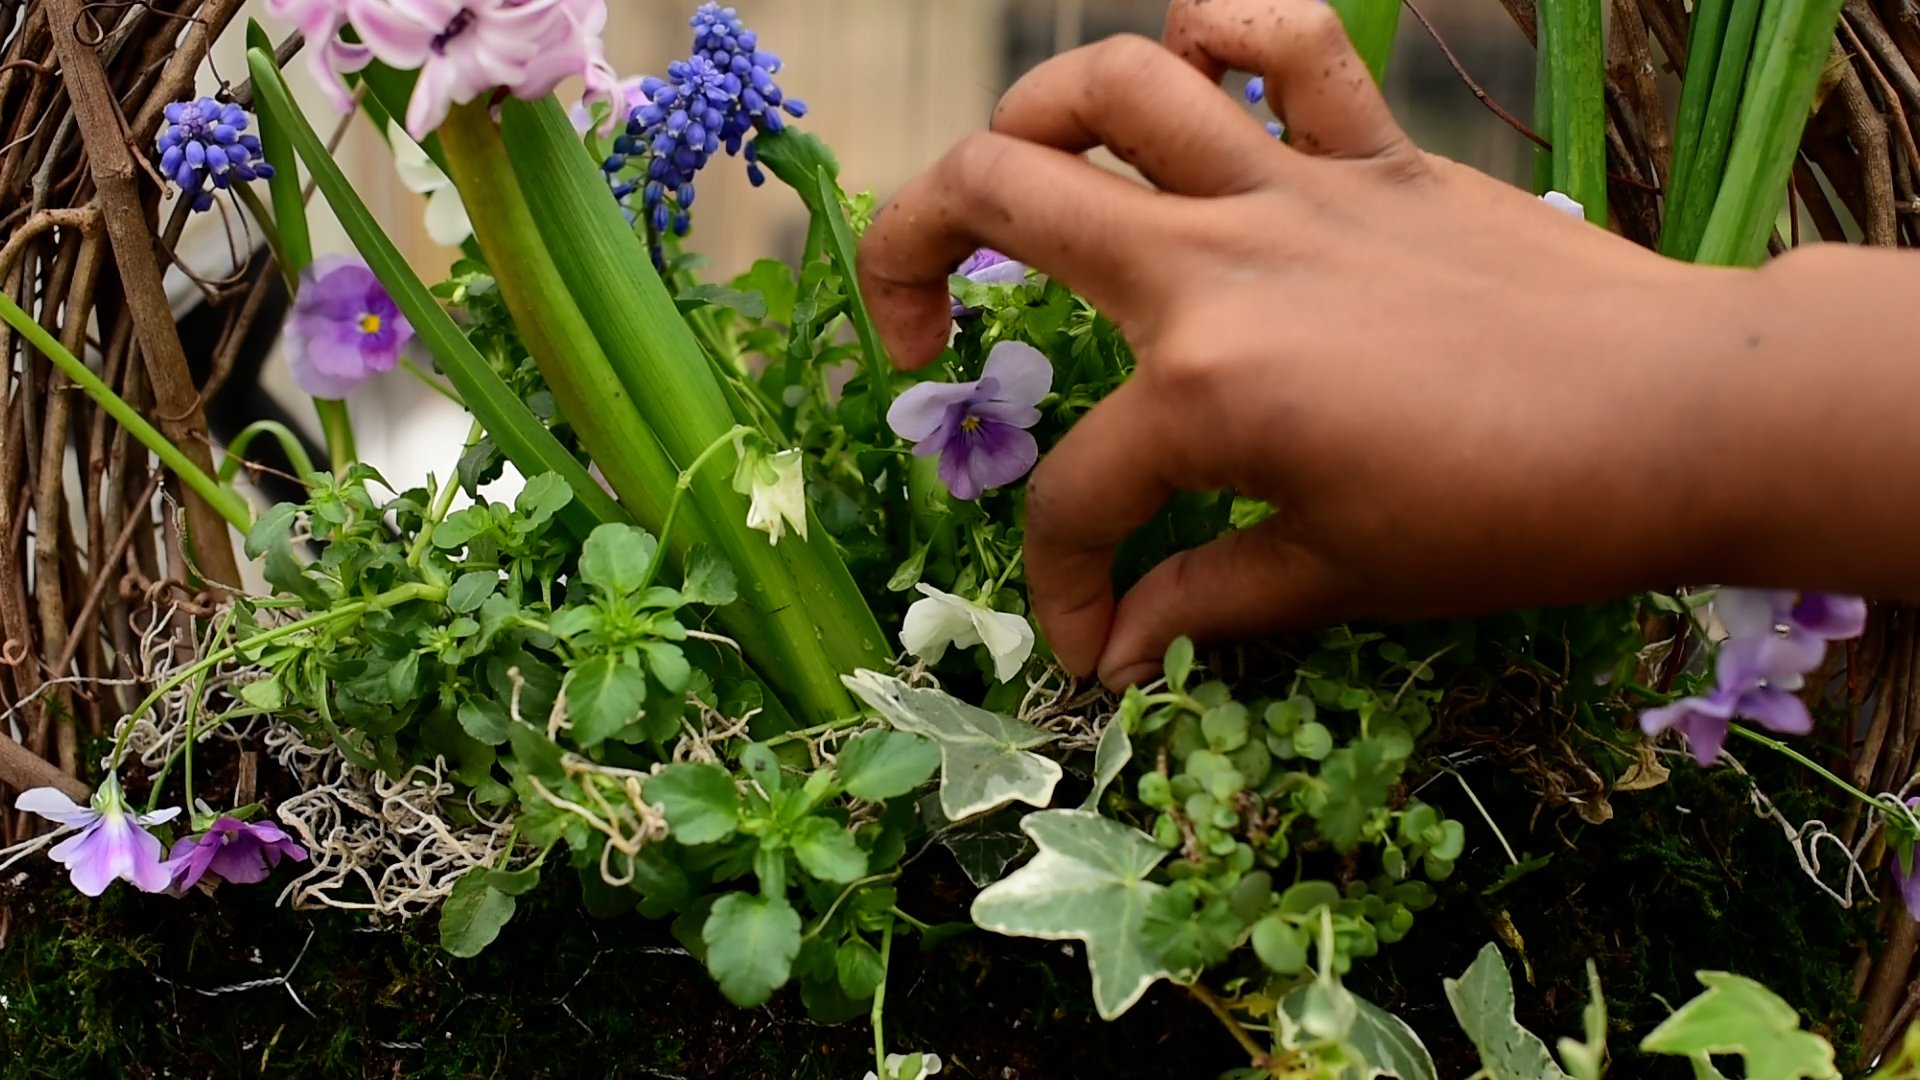
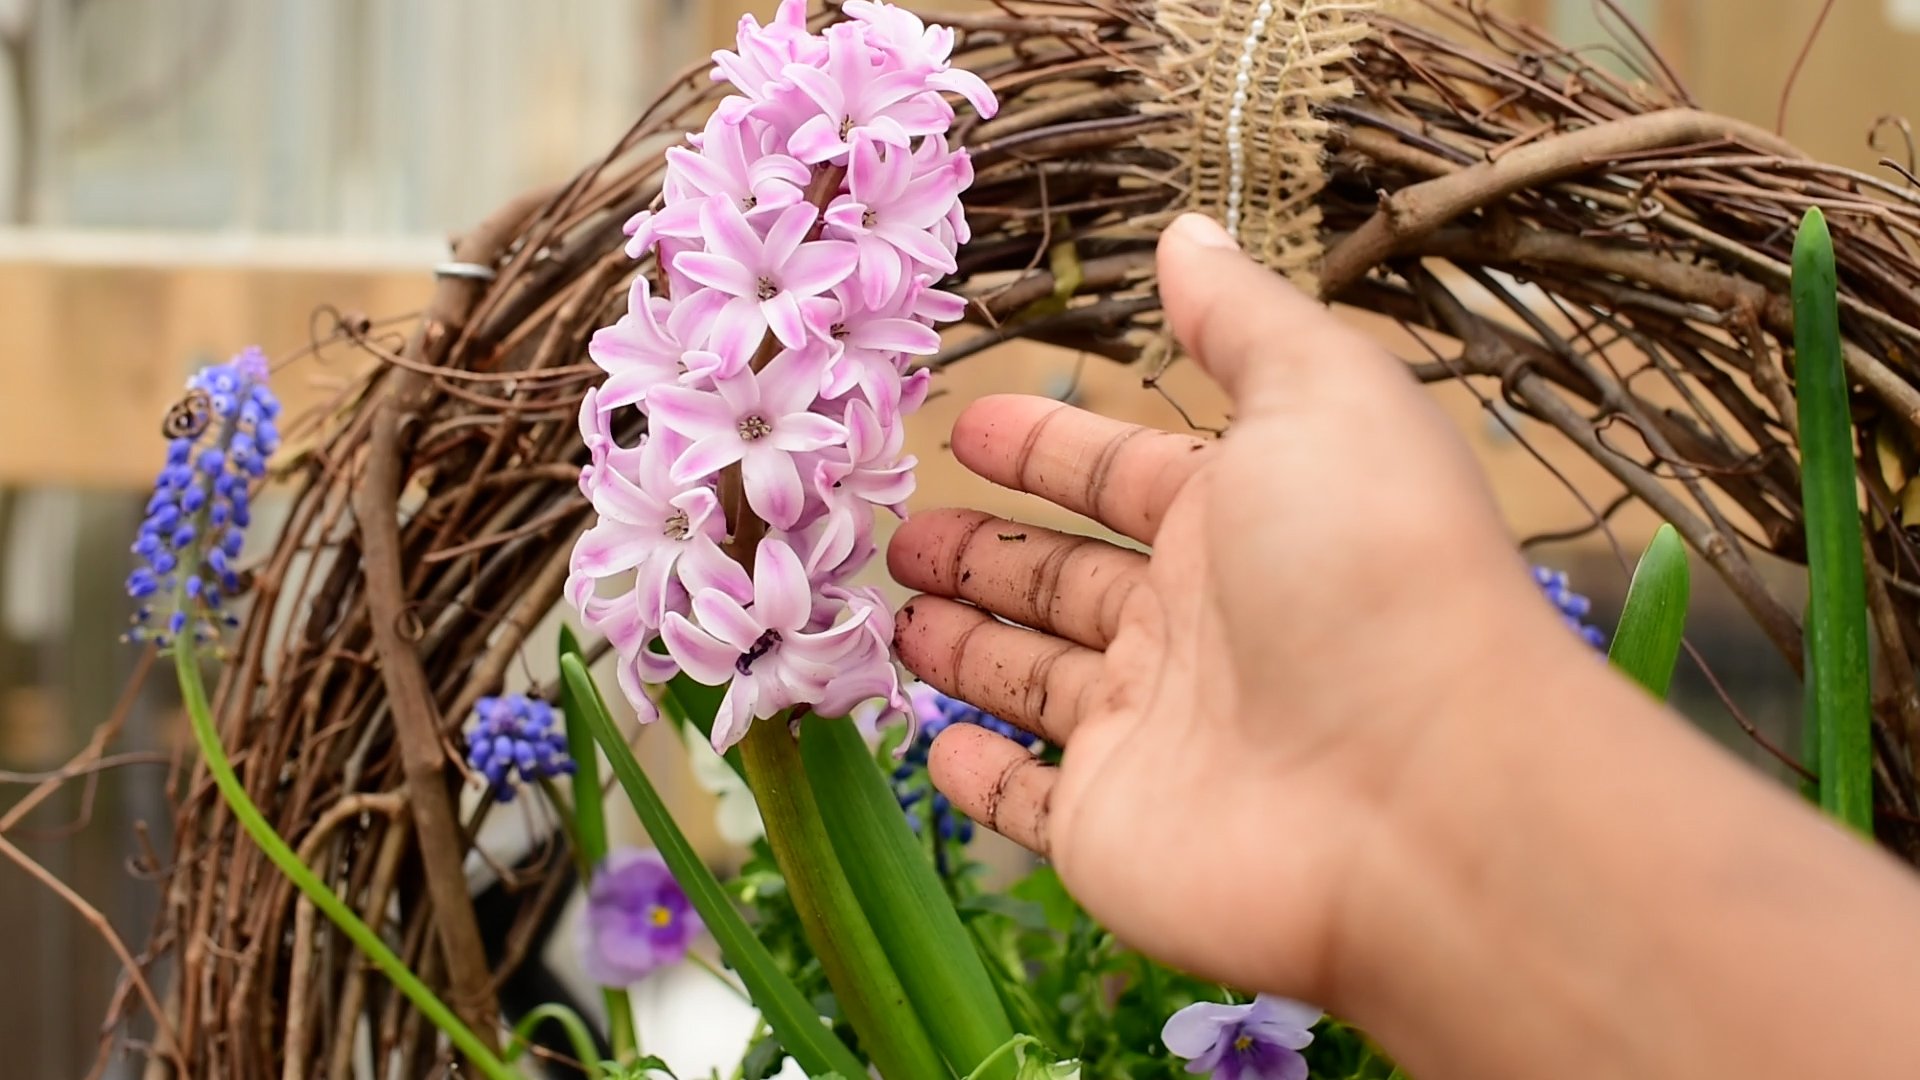
Now to add the soil and those gorgeous plants. You can add as many or as little as you would like. As I said before, it depends on the look and feel you are going for. I tend to gravitate towards the cool colors of Spring so my flower choices reflect that. Let me get the rest of the plants in and this project will be complete.
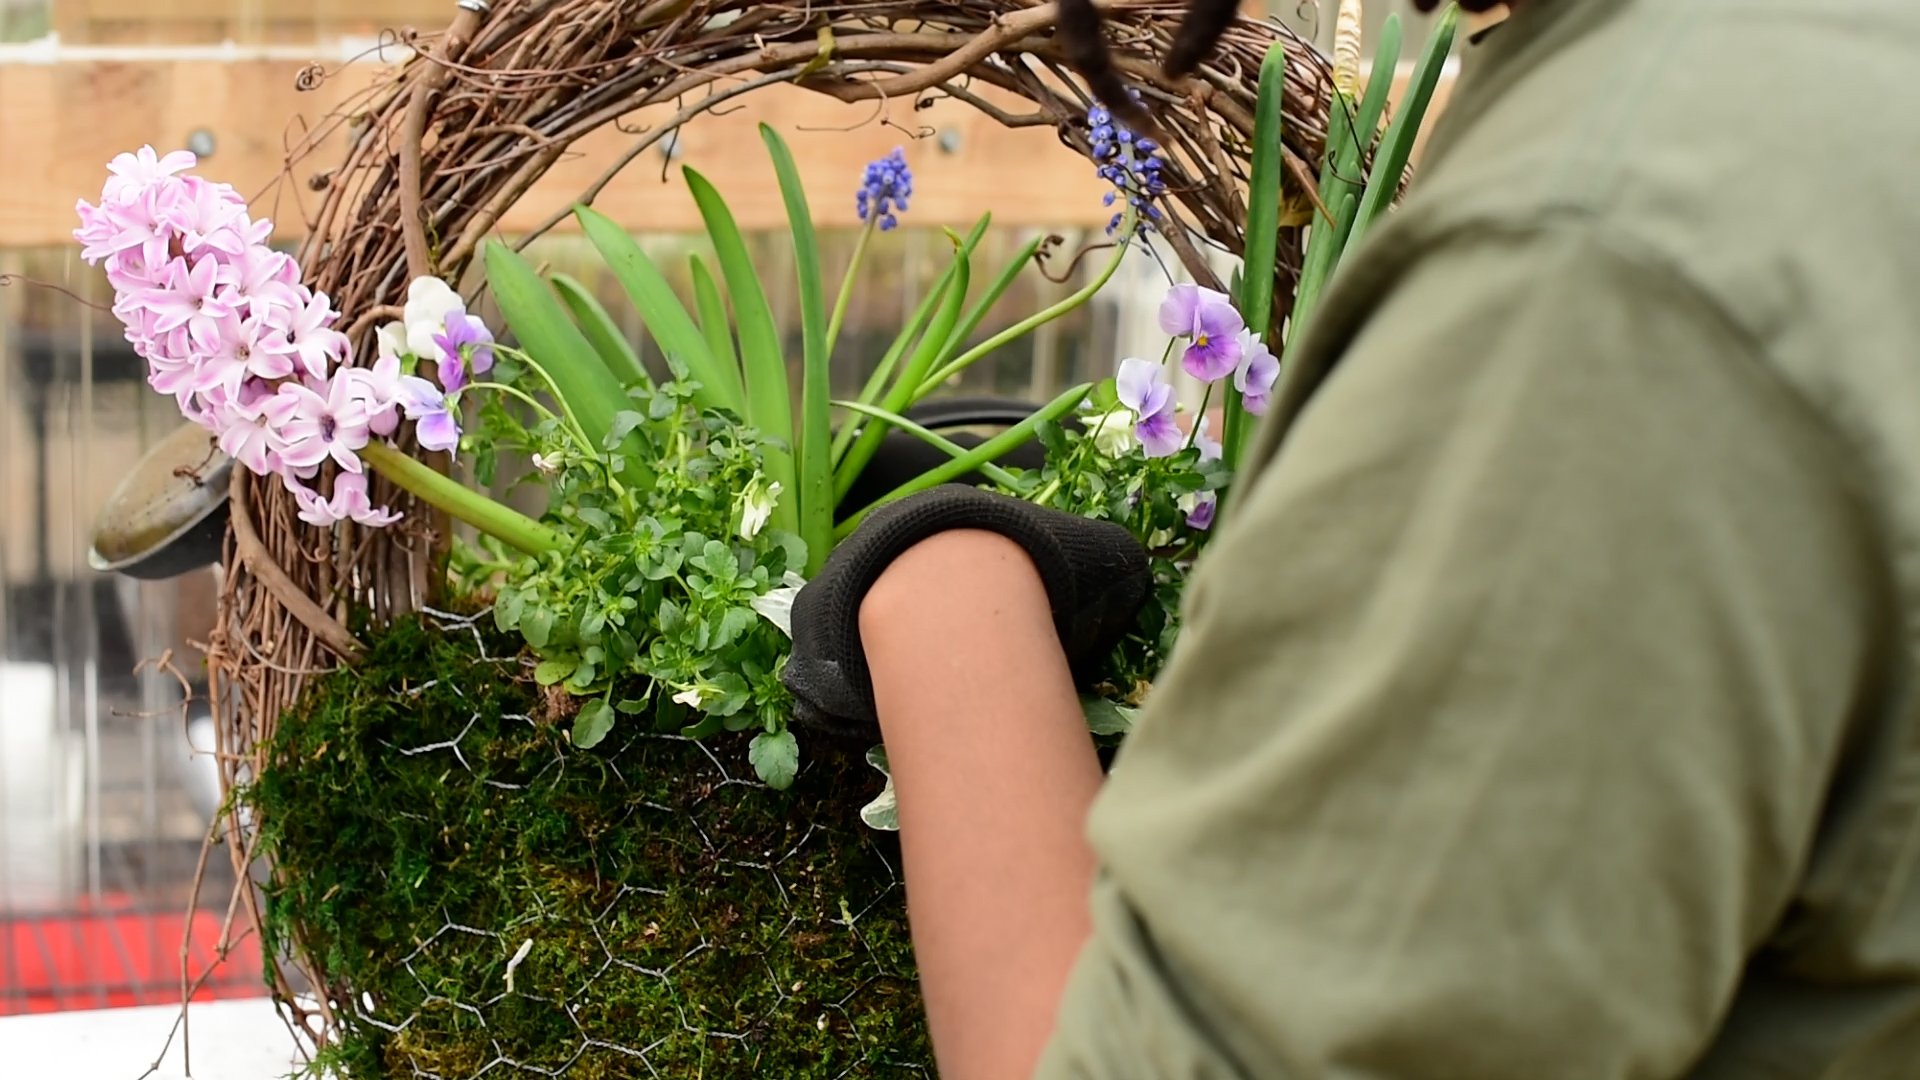
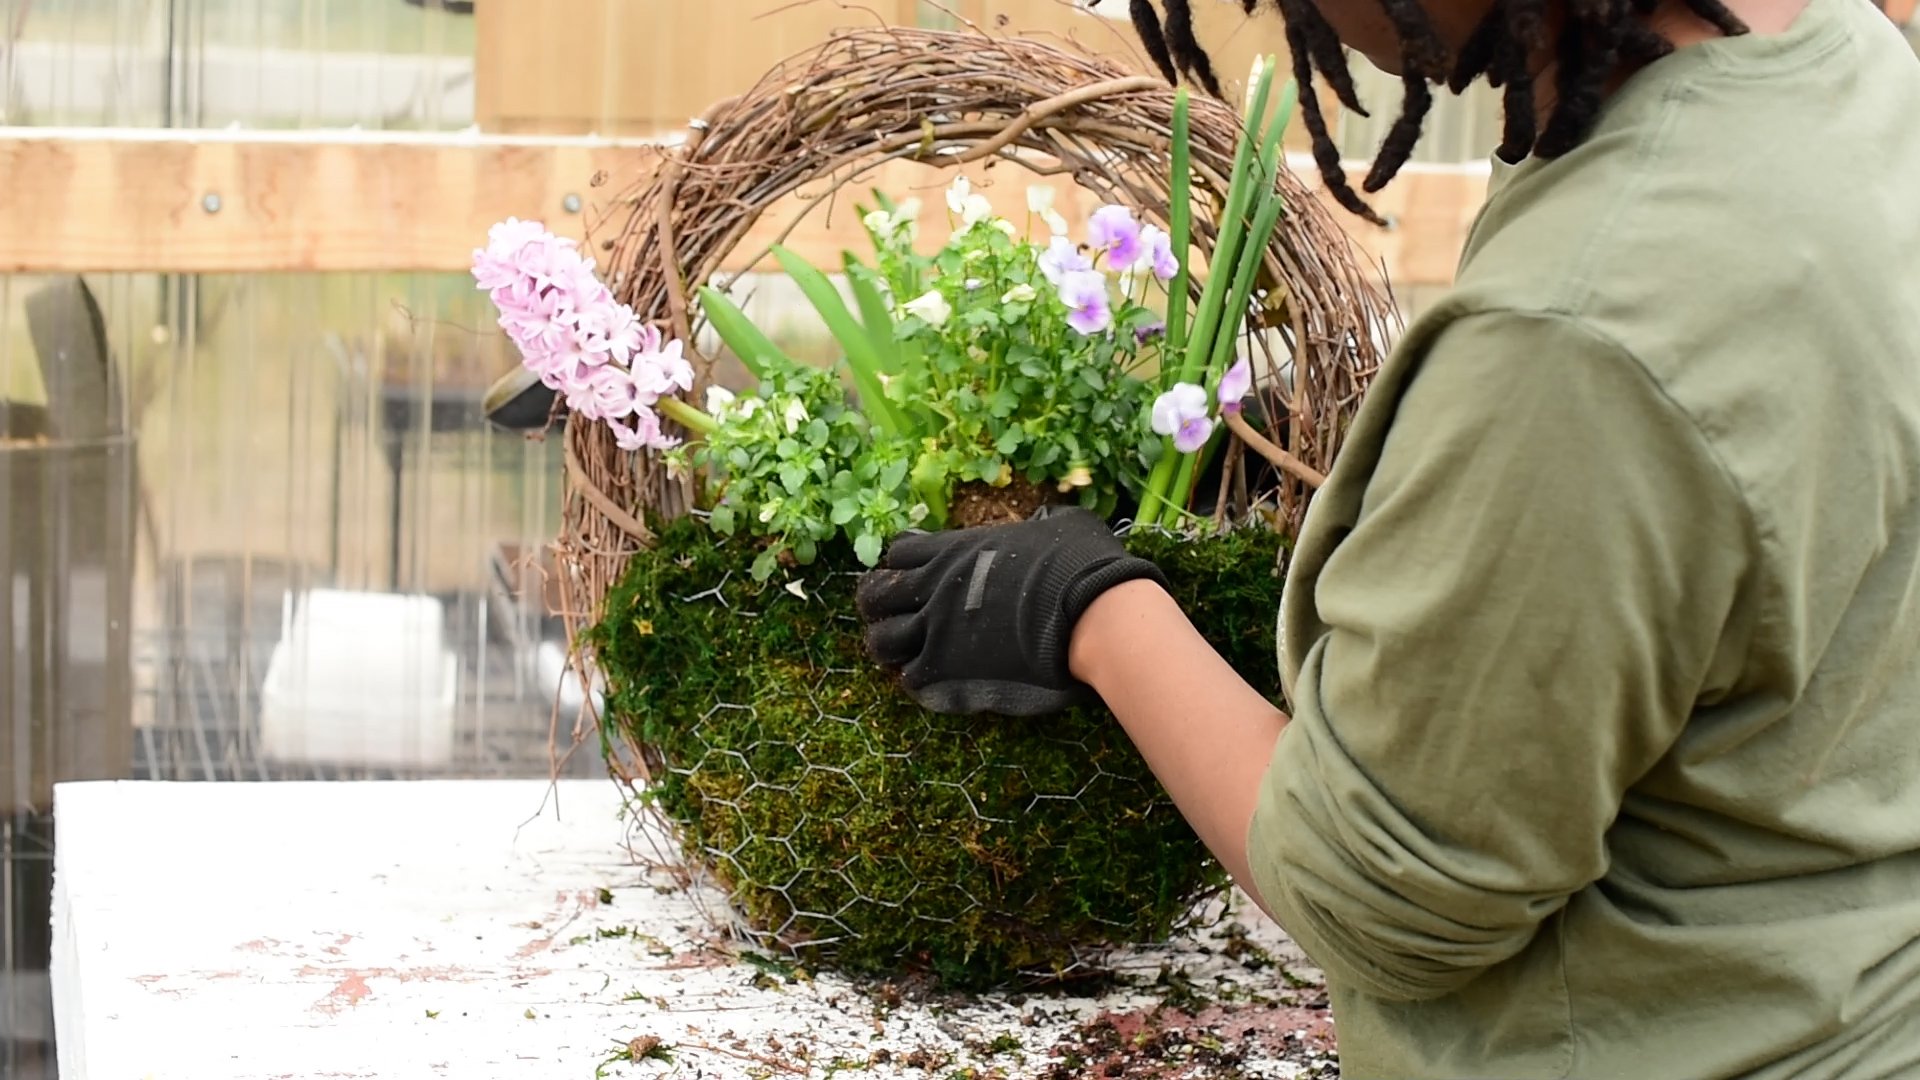

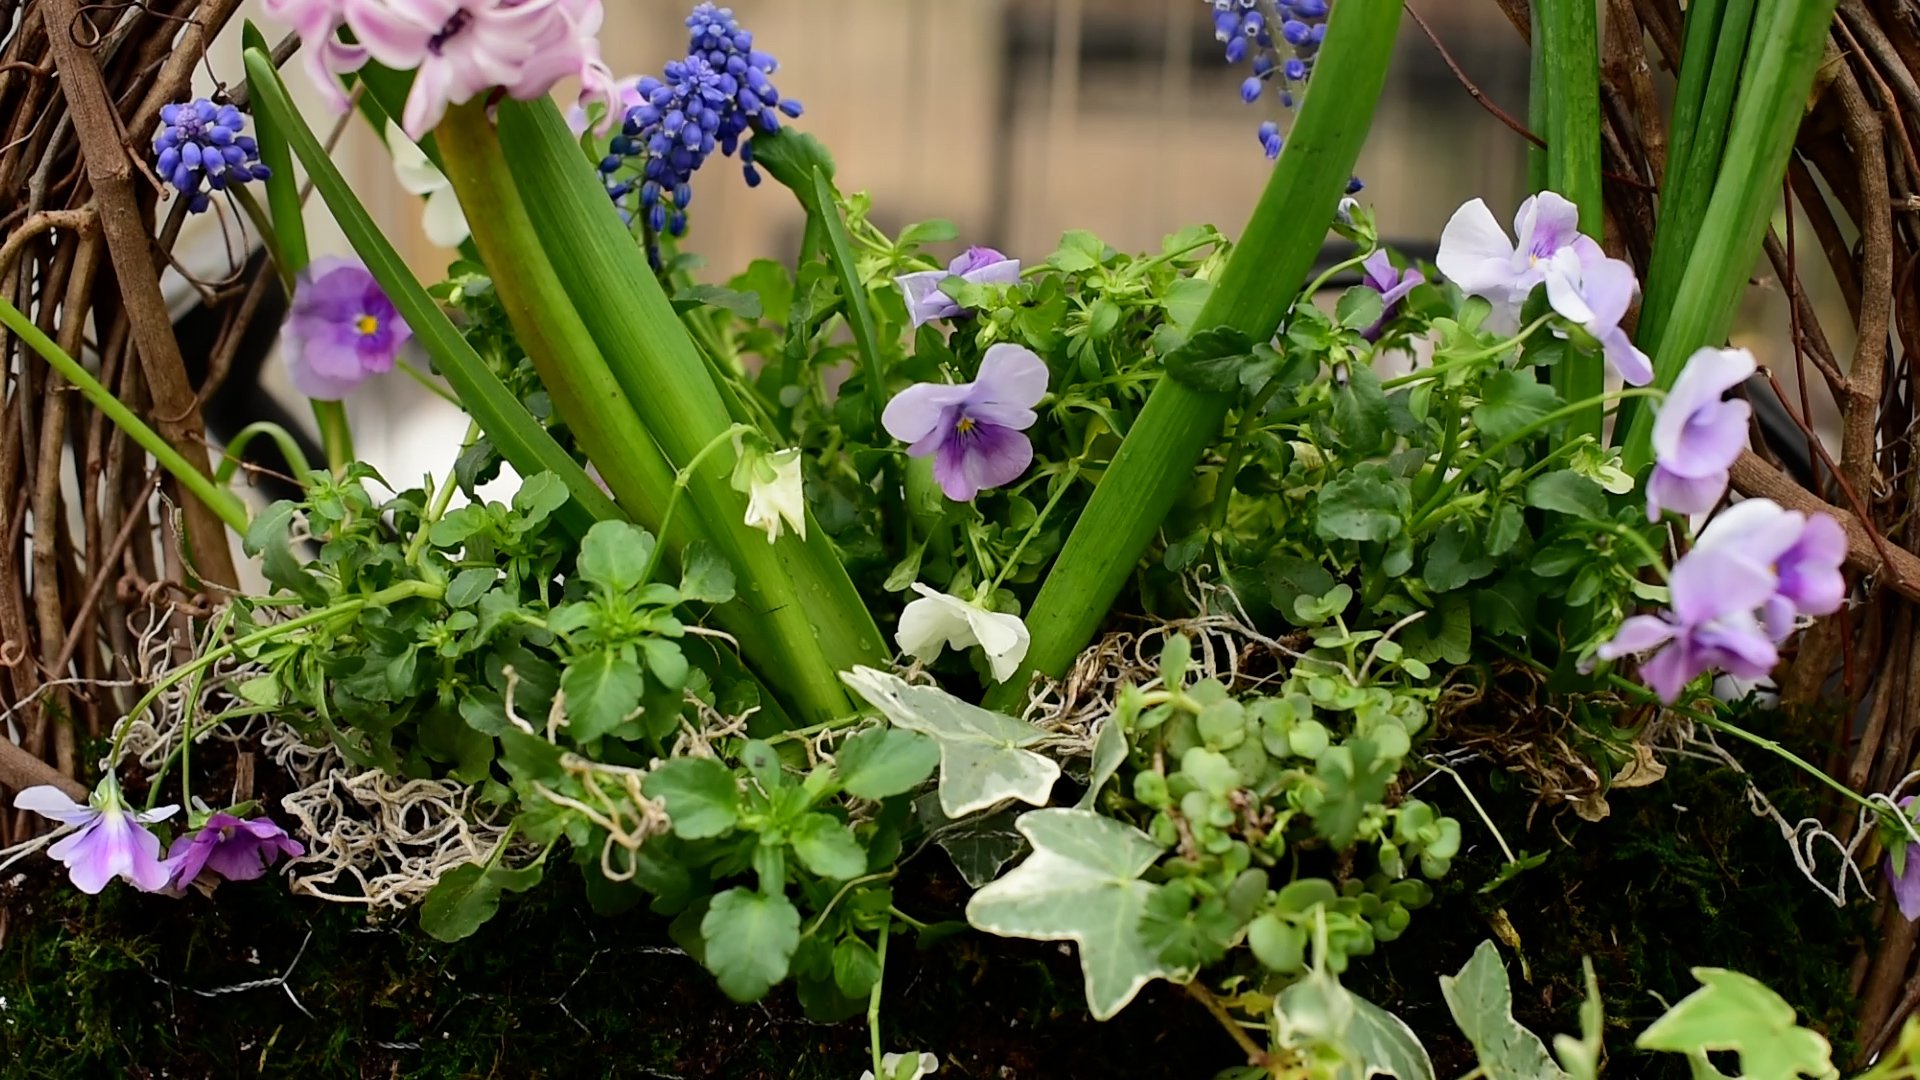
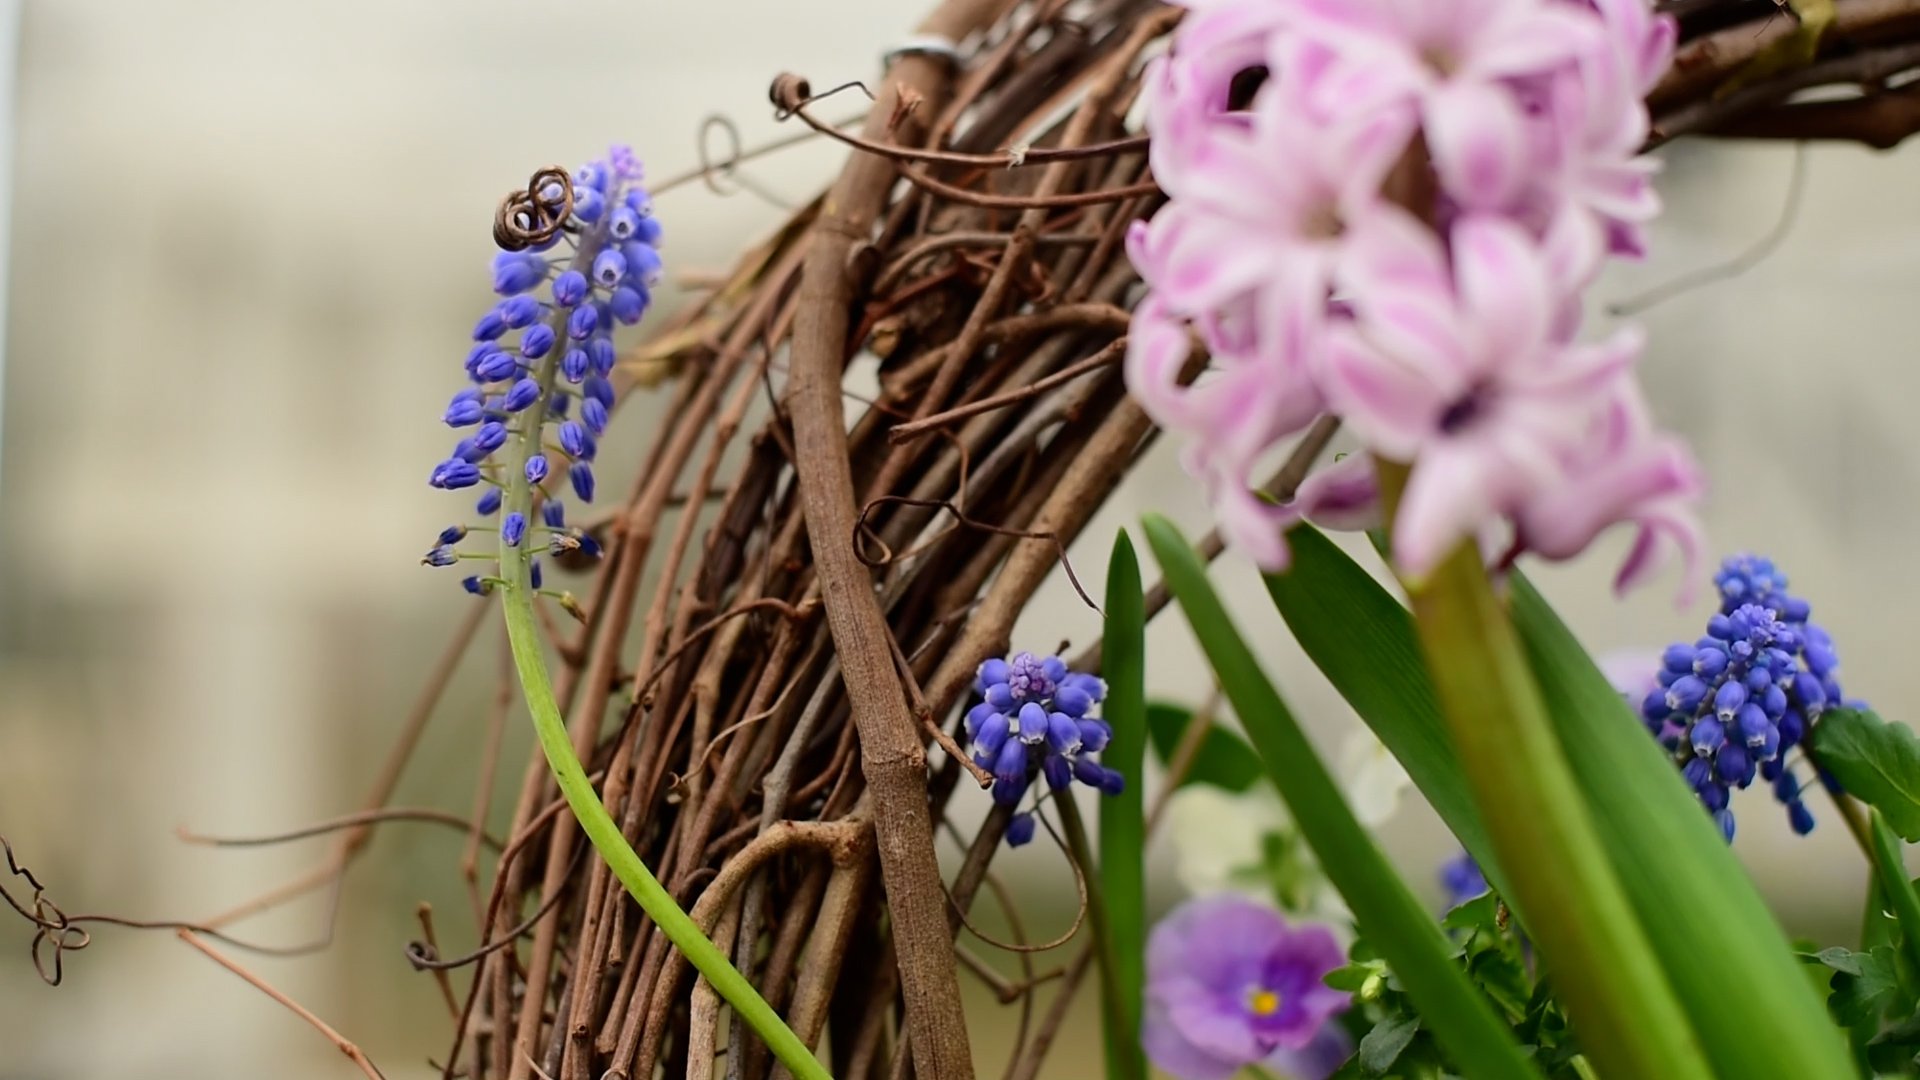
The plants I use are a mix of hyacinths, paper whites, a trailing vine, sedum, and violas. I went in with some Spanish Moss to give it an extra touch of Spring. A ribbon was also added to make hanging the wreath easier. If you do plan to hang your wreath, I recommend using a heavy duty hanger because the soil and the wet moss increases the overall weight.


And that is how you create a grapevine wreath planter. I think it turned out gorgeous. It exceeded my expectations and just feels like Spring. Let me know in the comments If this is a project you would try!! Happy Gardening!


Pin this image
Follow Us On Instagram!